
Best bike tire sealant for tubeless usually comes down to your tire volume, your local climate, and how often you actually want to deal with top-offs, not just what’s popular online.
If you’ve ever set up tubeless and still ended up with a slow leak, a sidewall “sweat,” or sealant that turns into rubber crumbs too soon, you already know the frustrating part: most sealants work great in some conditions and feel useless in others.
This guide helps you pick a sealant based on real-world use: puncture size you expect, how hot or cold your rides get, whether you run inserts, and how much maintenance you tolerate. You’ll also get a practical setup routine and a short “is my sealant still alive” checklist.
What “best” really means for tubeless sealant
Sealant isn’t one product category, it’s a few different formulas aimed at different problems. If you match the formula to your riding, you stop chasing “mystery leaks.”
- Fast sealing vs. long-lasting: Some sealants plug holes quickly but dry out faster, others stay liquid longer but may need more time to seal bigger punctures.
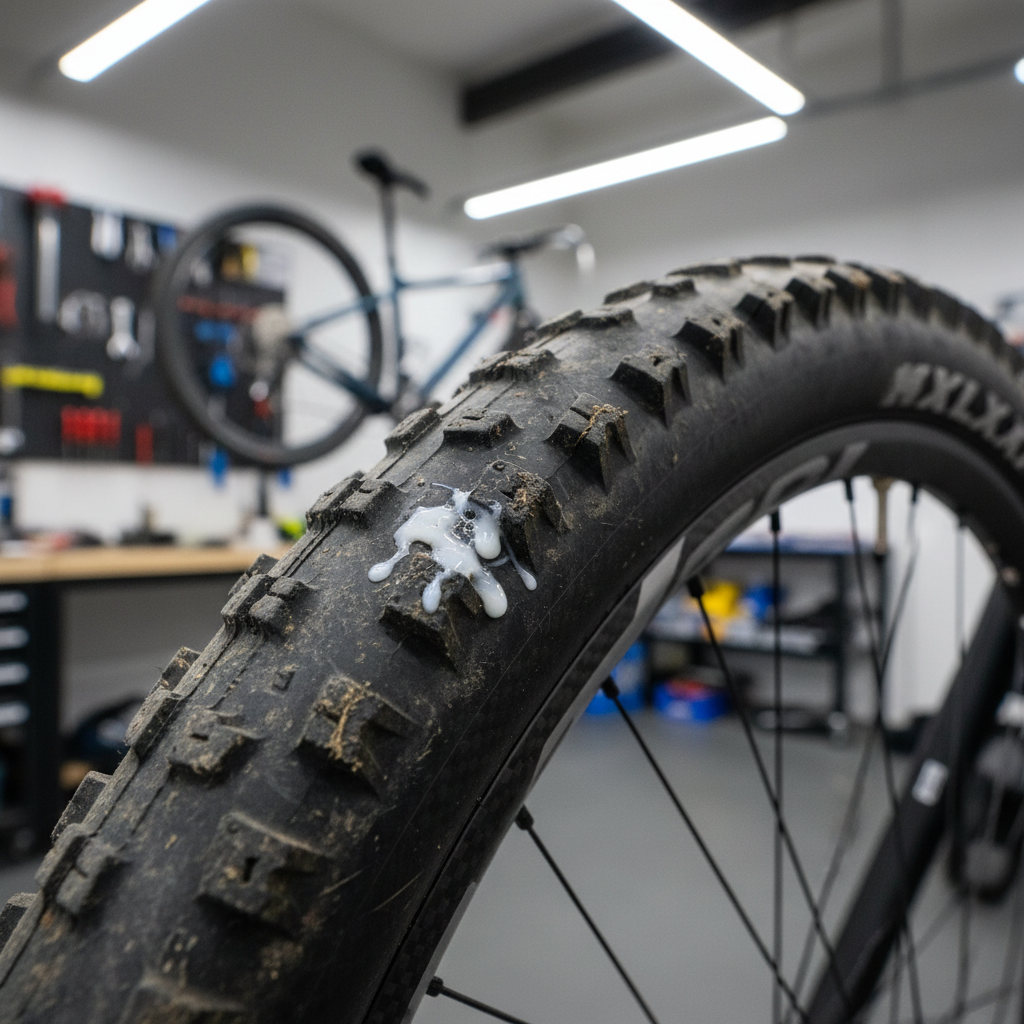
- Small punctures vs. larger cuts: If you ride thorny shoulders or goathead country, you want quick micro-puncture sealing. If you ride sharp rock, you care more about sealing larger holes and sidewall weeps.
- Low maintenance vs. maximum performance: People who check sealant monthly can run “faster” formulas, everyone else should bias toward longevity.
According to Stan’s NoTubes (a major tubeless system manufacturer), sealant needs periodic replenishment because it naturally dries out over time. That’s normal, but how fast it happens depends heavily on heat, humidity, and tire volume.
Main sealant types (and what they’re good at)
You’ll see a lot of branding, but most tubeless sealants fall into a few buckets. Knowing the bucket is more useful than memorizing product names.
Latex-based (most common)
Latex-based sealants are the default choice for many riders because they balance easy setup, decent puncture sealing, and broad compatibility with tubeless-ready tires.
- Pros: Generally seals everyday punctures quickly, widely available, usually plays well with common tubeless valves and rims.
- Cons: Can dry faster in hot, dry climates, may form “boogers” or clumps over time, performance varies a lot by formula.
Latex + particles/fibers (reinforced formulas)
These formulas add crystals, fibers, or “glitter-like” particles to help bridge larger holes. In many cases, this is what people mean when they say a sealant “plugs bigger punctures.”
- Pros: Better odds on larger punctures and sidewall weeps, often a good match for aggressive MTB riding.
- Cons: Can clog valve cores, can be messier to refresh, sometimes needs more frequent shaking or wheel rotation to redistribute.
Non-latex / synthetic (for sensitivity or specific maintenance goals)
Some riders choose non-latex options due to latex sensitivity or because they want a different drying behavior. Compatibility varies more here, so reading the label matters.
- Pros: May reduce latex-related allergies, can behave differently in storage, sometimes easier cleanup.
- Cons: Not always as fast to seal typical punctures, may be pickier about tires/rims, fewer “universal” assumptions.
Quick comparison table: picking sealant by your riding
Use this as a shortcut. Then refine with the checklist in the next section.
| Riding scenario | What to prioritize | Sealant direction | Maintenance expectation |
|---|---|---|---|
| Road / endurance tubeless | Low rolling fuss, reliable micro-sealing | Latex-based, lower particulate | Check every 2–4 months |
| Gravel (mixed surfaces) | Thorns + occasional sharp rock cuts | Latex + light fibers/particles | Check every 2–3 months |
| MTB trail / enduro | Bigger punctures, sidewall weeps | Reinforced (fibers/particles) | Check every 1–2 months |
| Hot, dry climate (Southwest summers) | Dry-out resistance | Longevity-focused formula | Expect more frequent top-offs |
| Cold winters / shoulder seasons | Cold performance + consistency | Cold-rated latex formula (label matters) | Inspect before big rides |

Self-check: how to choose the best sealant for your setup
If you want the best bike tire sealant for tubeless for your bike specifically, answer these quickly and you’ll narrow it down fast.
- Tire volume: 700x28–32 road uses less sealant, 29x2.4 MTB needs more and dries differently because there’s more air volume.
- Puncture profile: Mostly tiny thorns, or occasional larger cuts from rock and debris.
- Insert or no insert: Inserts can reduce “burp” risk but may also encourage you to run lower pressure, which can stress sidewalls and increase weeping.
- Climate: Hot/dry speeds up evaporation through casing, humid tends to be kinder, cold can slow sealing and change viscosity.
- How you top off: Through valve (needs low clogging) or by popping bead (clogging less of an issue).
- Your tolerance for maintenance: If you never want to open tires mid-season, bias toward longevity even if it seals a hair slower.
Key point: if you constantly add air but never see obvious holes, the “best” sealant might be the one that stays liquid longer in your climate, not the one with the biggest puncture claims.
Practical setup and refresh routine (that prevents most failures)
Most sealant complaints aren’t about the product, they’re about how it was installed or maintained. This routine isn’t fancy, it just removes the common weak links.
1) Prep the rim and tire like you mean it
- Confirm rim tape is airtight and fully adhered, especially at spoke holes and the seam overlap.
- Make sure the valve gasket sits flush, a tiny gap here can mimic a “bad sealant” problem.
- For porous casings, expect a little initial weep, a short shake-and-lay routine usually helps.
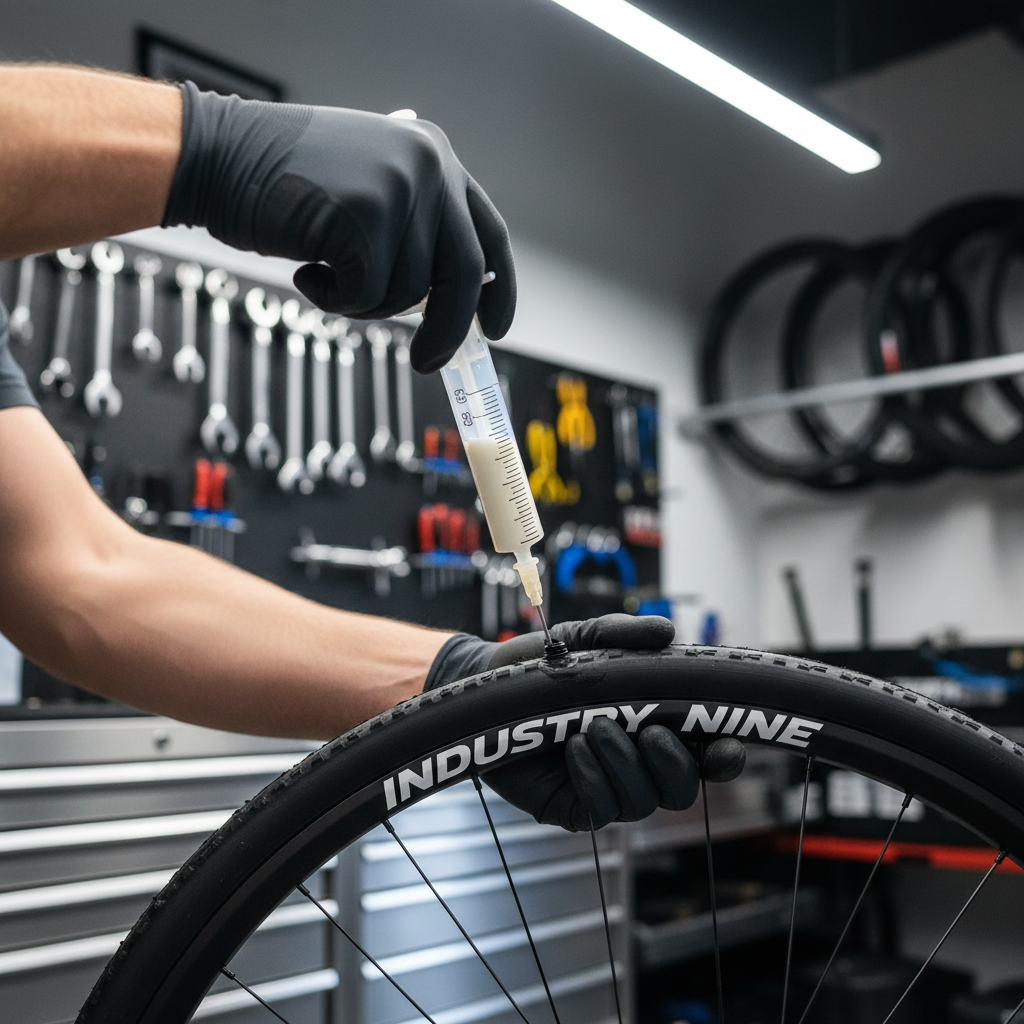
2) Use a realistic sealant amount
Labels and tire brands vary, but under-filling is one of the easiest ways to lose the tubeless benefit. Many riders do better using the higher end of the recommended range for gravel and MTB, especially in dry conditions.
3) Seat the bead, then distribute sealant intentionally
- After inflation, rotate and shake the wheel, then lay it on each side for several minutes.
- Focus on sidewalls and bead area, that’s where slow leaks often originate.
- Recheck pressure after 30–60 minutes, then again the next morning.
4) Refresh on a schedule that matches your climate
In many cases, topping off is simpler than troubleshooting. If you’re chasing the best bike tire sealant for tubeless because your tires suddenly won’t hold air, dried-out sealant is a prime suspect.
- Typical: inspect every 2–4 months.
- Hot/dry: you may need to check closer to monthly.
- Race or high-miles blocks: inspect before the block starts, not after problems show up.
Common mistakes that make good sealant look bad
Before you blame the bottle, it’s worth checking a few things that repeatedly show up in real troubleshooting.
- Old sealant in a new top-off: If there’s a pile of dried latex chunks inside, adding fresh sealant sometimes can’t “revive” it, a full clean-out may be smarter.
- Valve core clogging: Reinforced formulas can clog cores, especially if you frequently inflate/deflate. Swapping cores is cheap and often fixes the “slow leak” story.
- Rim tape micro-leaks: Tiny tape leaks can show as bubbles at spoke holes, sealant rarely fixes this long-term.
- Mixing incompatible sealants: Some formulas don’t play well together and can clump. If you switch brands/types, a clean-out avoids surprises.
- Assuming one pressure fits all: Too low can cause burps, too high can make certain punctures harder to seal quickly, especially on larger-volume tires.
According to Park Tool, tubeless setup issues often trace back to rim tape condition, valve installation, or bead seating, so it’s worth treating those as first-line checks before changing products.
When sealant isn’t enough (and what to do instead)
Even the best bike tire sealant for tubeless won’t cover every failure. The trick is knowing when to stop “hoping it seals” and switch tactics.
- Large gash or sidewall cut: Use a tire plug, and if it still weeps, add a boot and install a tube to get home.
- Repeated burping: Check bead fit, rim width compatibility, and pressure. Inserts can help, but they’re not a cure for poor bead engagement.
- Persistent casing porosity: Some lightweight tires weep more; a heavier casing or a reinforced sealant can help, but sometimes the tire choice is the core issue.
Safety note: if you see damage near the bead or a structural sidewall tear, continuing to ride may be risky, a local bike shop can help assess whether the tire is still safe to use.
Key takeaways and a simple recommendation path
If you want this to feel simple again, pick based on your most common failure mode, then commit to a refresh cadence. That alone usually does more than brand-hopping.
- Road tubeless: choose a reliable latex formula with low clogging risk, keep pressures consistent, refresh before it dries out.
- Gravel: lean reinforced if thorns and sharp rocks show up often, carry plugs, check sealant mid-season.
- MTB: reinforced formulas tend to earn their keep, but plan for valve-core maintenance and more frequent checks.
- Hot/dry riders: prioritize longevity, and accept that “set and forget” rarely holds in peak summer.
If you’re still torn, buy the sealant you can easily restock locally and maintain, the “best” product you can’t find when you need a top-off turns into downtime fast.
FAQ
How much sealant should I put in tubeless tires?
It depends on tire volume and how porous the casing is. Road tires need less, MTB needs more, and in dry climates you may benefit from using the higher end of the brand’s suggested range.
How often should I refresh tubeless sealant?
Many riders check every 2–4 months, but hot, dry conditions can shorten that window. If you’re adding air more often than usual, it’s a good time to inspect sealant level.
Why does my tubeless tire still lose air overnight?
Some overnight loss can be normal right after setup, but continued loss often points to rim tape leaks, a valve seal issue, or dried-out sealant that no longer coats the casing well.
Can I mix different tubeless sealant brands?
Sometimes it works, sometimes it clumps, and you usually won’t know until it’s messy. If you’re switching types, cleaning out the old sealant is the safer play.
Will reinforced sealant clog my valve?
It can, especially if you inflate frequently or store wheels with the valve at the bottom. Keeping spare valve cores and a core tool is a low-cost fix for a common annoyance.
What’s better for gravel: longevity or faster sealing?
Gravel riders often need both, but if you ride in thorn-heavy areas, faster sealing matters. If your main issue is slow leaks over weeks, longevity and regular top-offs win.
Does sealant work in cold weather?
Many sealants do, but performance can vary. If you ride through winter, look for cold-weather guidance on the label and test your setup before a long ride.
If you’re trying to stop repeat flats and want a more “set-it-up-once” tubeless routine, it can help to list your tire size, terrain, and climate, then choose a sealant type that matches your maintenance tolerance instead of chasing hype.