
how to use a bike computer for beginners usually comes down to three things, getting it mounted securely, choosing the right data screens, and making sure the numbers match reality.
If you ever finished a ride thinking your speed looked suspiciously high, or your distance didn’t match your phone app, you’re not alone, bike computers are simple once they’re set up, but the first hour can feel oddly fussy.
This guide walks through the practical steps that matter on real rides, plus quick checks to confirm your device is reading GPS or sensors correctly, and a few common mistakes that waste time.
What a bike computer does (and what it doesn’t)
A bike computer is a dedicated device that records ride data like speed, distance, time, elevation, and sometimes navigation, it can do this via GPS, sensors, or both.
- GPS-based: uses satellites to estimate speed and distance, easy to start, sometimes less stable under trees or between tall buildings.
- Sensor-based: uses a wheel speed sensor and cadence sensor for steadier readings, especially useful for indoor trainers.
- Heart rate and power: optional, requires compatible heart-rate strap and/or power meter.
What it won’t do by itself, fix poor GPS reception, guess your calorie burn precisely, or make training “accurate” without good inputs. According to Garmin, GPS accuracy can be affected by factors like environment and satellite visibility, so occasional odd spikes don’t always mean your device is broken.
Choose the right type for your riding
Before setup, it helps to be honest about what you’ll actually use. Many people buy a feature-packed unit, then stare at maps they never follow.
A quick comparison
| Riding style | What matters most | Nice-to-have |
|---|---|---|
| Casual rides / commute | Large display, auto-pause, simple speed/distance | Basic navigation, incident alerts |
| Fitness / weekend training | Structured screens, HR support, reliable GPS | Cadence sensor, intervals, segments |
| Indoor trainer | Sensor support (ANT+/Bluetooth), stable connectivity | Power compatibility, workout import |
| Long routes / touring | Navigation, battery life, offline maps | USB-C charging, rerouting |
If you’re learning how to use a bike computer for beginners, a simpler device is often easier to stick with, you can always add sensors later.
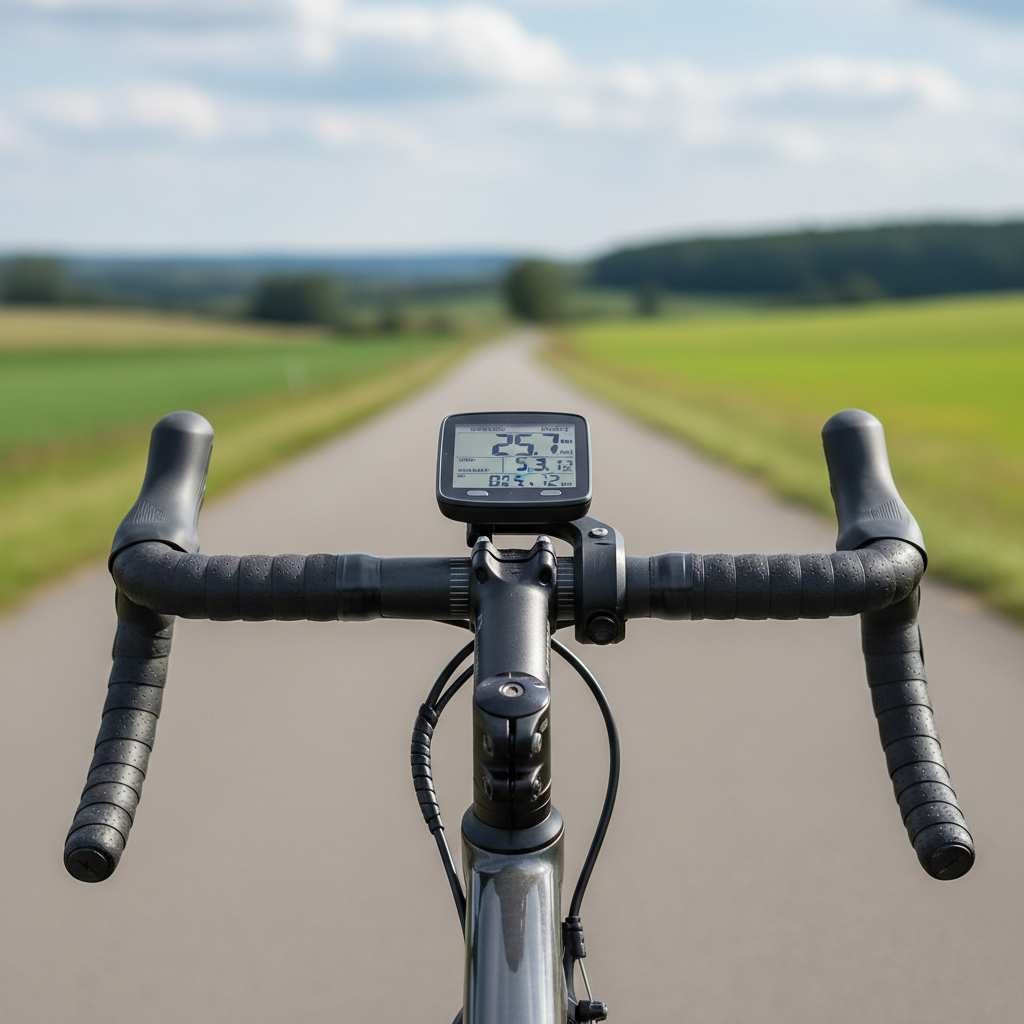
Mounting and basic setup (the part beginners underestimate)
A surprising number of “my computer is inaccurate” complaints start with a loose mount, a bad angle, or buttons being pressed by a tight case.
Mount it so you can actually read it
- Position the unit centered and level, so your eyes glance down quickly without turning your head.
- Tighten the mount enough that it doesn’t rotate when you hit a bump, but avoid over-tightening plastic parts.
- Do a quick shake test, if it wiggles, it will probably wiggle more on rough pavement.
Set the basics before your first real ride
- Language, units, time: miles vs kilometers, 12/24 hour time, temperature units.
- Rider profile: age/weight can affect calorie estimates, treat those numbers as rough guidance.
- Auto features: auto-pause and auto-lap can help, but they can also create confusing data if your route has many stoplights.
GPS, sensors, and pairing: getting “real” numbers
Most devices can record a ride with GPS alone, but sensors often make speed and cadence smoother, and they’re almost required for consistent indoor use.
GPS checklist
- Wait for a solid GPS lock before you start, starting too early can create a weird first mile.
- If your device offers satellite modes, the default is fine for many riders, higher-accuracy modes can reduce battery life.
- In cities or dense trees, expect occasional speed spikes, you’re not suddenly a pro sprinter.
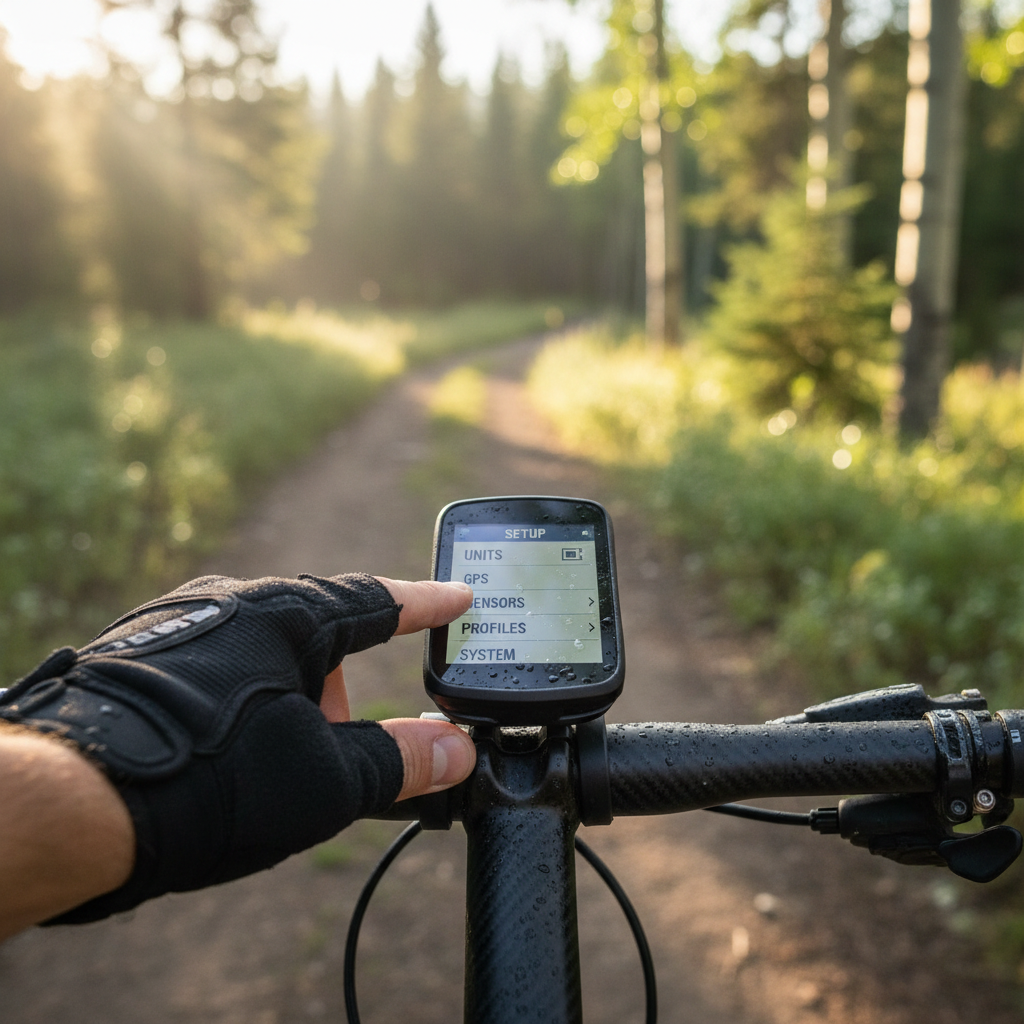
Pair sensors the clean way
- Install the sensor, spin the wheel or crank to “wake” it.
- On the bike computer, go to sensors, add new, then select speed/cadence/HR.
- Confirm the sensor ID matches what you expect, this prevents accidentally pairing to someone else’s sensor at a group start.
According to Wahoo Fitness, pairing and firmware updates are typically handled through the companion app for many models, if pairing feels flaky, checking firmware and replacing a coin battery often fixes it.
Set up data screens you’ll actually use
The fastest way to hate a bike computer is to cram eight tiny fields on one page, beginners tend to overdo it, then stop looking at the screen altogether.
Good starter screens (simple and useful)
- Screen 1: Ride basics: current speed, distance, ride time.
- Screen 2: Effort: heart rate (if you have it) and cadence.
- Screen 3: Climbing: elevation gain and grade, optional if you ride hills.
Key takeaways for readable screens
- Use larger fields for the one number you check most often.
- Keep “average speed” off your main screen if it messes with your head, plenty of riders ride better without it.
- Turn off pages you don’t use, scrolling while riding is distracting.
If your goal is learning how to use a bike computer for beginners, think “glanceable,” not “complete.”
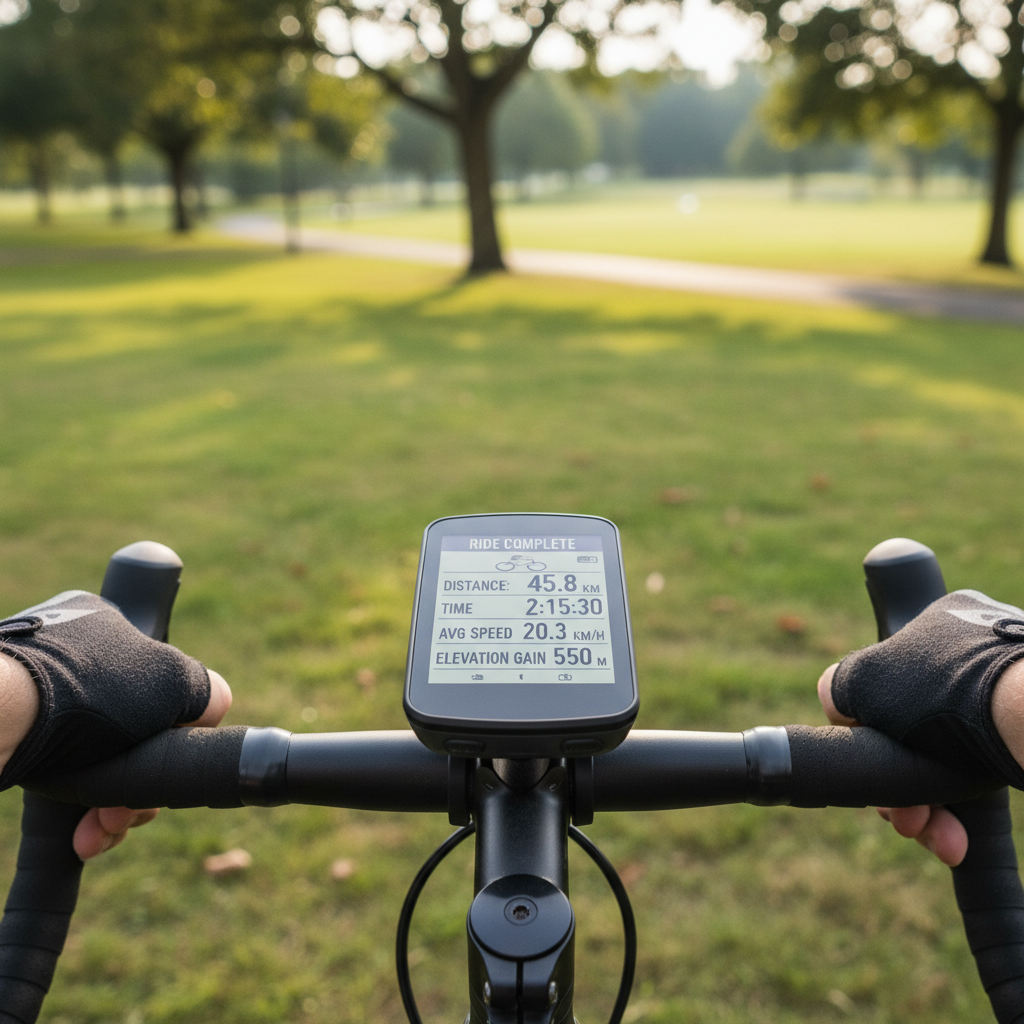
Start, stop, save: recording rides without messy files
This is where new users lose rides, or end up with five separate files for one loop around the neighborhood.
A clean ride workflow
- Before rolling, check battery and storage, confirm GPS lock or sensor connection icons.
- Press start once, then leave it alone, let auto-pause handle stoplights if you enabled it.
- At the end, stop, review the summary, then save (don’t just power off).
Uploading to apps
- Most computers sync via Bluetooth to a phone app, or Wi‑Fi on supported models.
- Link your accounts once (Strava, TrainingPeaks, etc.), then let it auto-upload.
- If uploads fail, open the companion app and keep it in the foreground for a minute, background syncing can be unreliable.
Troubleshooting: common beginner issues (and what usually fixes them)
When a bike computer misbehaves, it’s often one small setting or one bad connection, not a major defect.
If distance or speed looks wrong
- Confirm unit settings (miles vs kilometers), it happens more than people admit.
- If using a speed sensor, check wheel size setting, many devices can auto-calibrate, but not always perfectly.
- Give GPS time to lock, and avoid starting the timer indoors or under a roof.
If sensors keep dropping
- Replace coin batteries, they can be weak long before they’re “dead.”
- Make sure you’re not pairing the same sensor twice (Bluetooth and ANT+ entries can confuse some setups).
- Move your phone away from the head unit if you suspect wireless interference, not common, but it happens.
If navigation feels confusing
- Start with a simple breadcrumb route, then graduate to turn-by-turn.
- Download maps over Wi‑Fi ahead of time, doing it at the trailhead is stressful.
- Reduce alerts, too many beeps makes you ignore the important ones.
For safety, avoid deep menu digging while riding, pull over if you need to change screens, especially on roads with traffic.
Beginner practice plan: get comfortable in 3 rides
You don’t need to master every feature to benefit. Here’s a low-pressure way to build confidence while keeping your data clean.
- Ride 1 (20–40 min): record basics, practice start/stop/save, review the summary.
- Ride 2: add one sensor or one extra screen, keep everything else the same.
- Ride 3: try a short route or a simple interval, then check your upload and battery drain.
After three rides, most people stop thinking about buttons and start using the computer the way it’s meant to be used, quick feedback, less phone handling, and cleaner ride history.
Conclusion: keep it simple, then add features with a purpose
Learning how to use a bike computer for beginners gets easier once you focus on setup fundamentals, solid mounting, correct units, clean GPS lock, and a couple of readable screens.
If you do one thing today, build a “basic ride” profile and commit to the same workflow each time, start, ride, stop, save, sync, it removes most frustration.
If you’re ready, take your next short ride with just three fields on the screen, speed, distance, time, then expand from there when you know what you actually want to see.