
Outdoor fitness gear for parks works best when it feels intuitive to use, holds up to weather and heavy traffic, and fits the real mix of people who show up, from teens to older adults.
If you manage a park, HOA, school, or municipal space, the challenge usually isn’t finding equipment, it’s avoiding the wrong equipment. A few poor choices can create safety complaints, underused stations, and surprise maintenance costs that eat next year’s budget.
This guide focuses on practical decisions: what to install, where to place it, what “durable” really means in outdoor conditions, and how to set up a layout people actually follow. You’ll also get a quick comparison table, a site checklist, and a short commissioning plan you can hand to vendors.
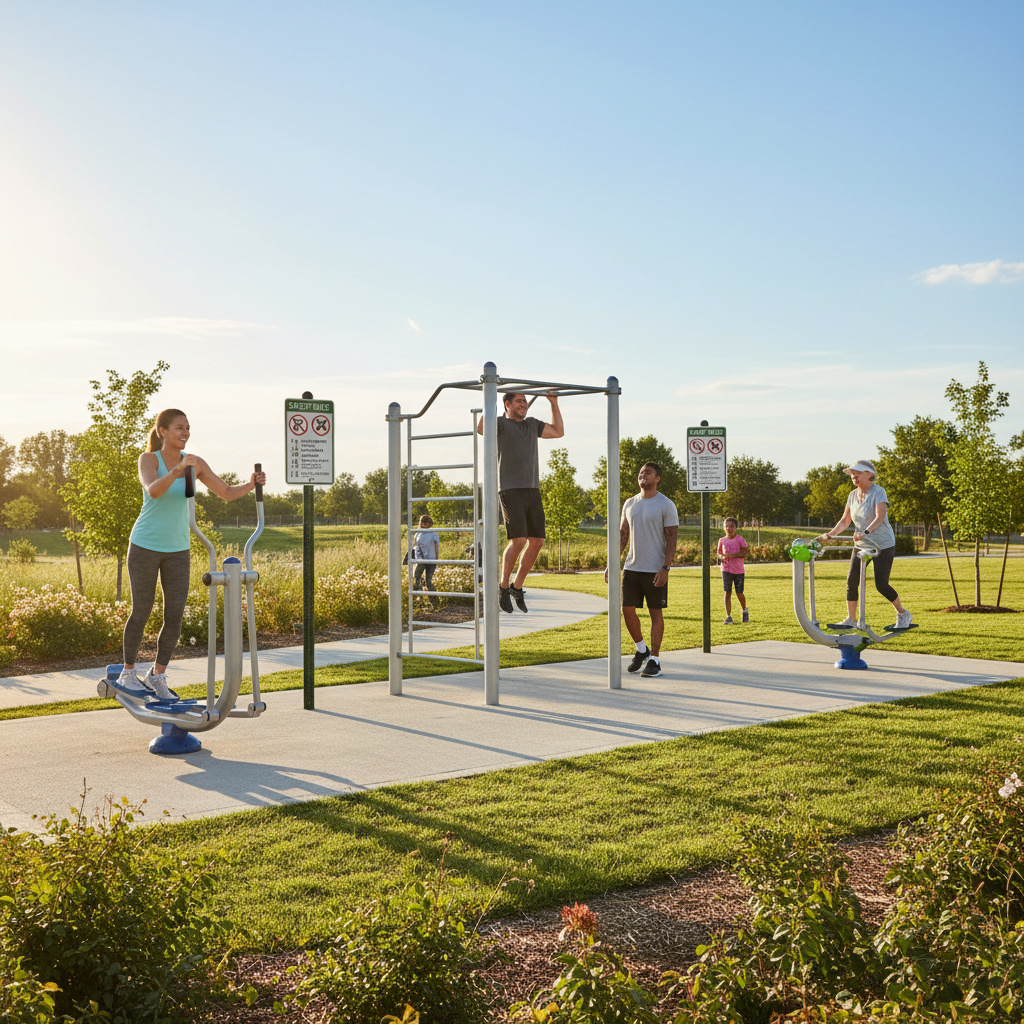
Why outdoor fitness equipment succeeds in some parks and fails in others
Most “failed” outdoor fitness zones aren’t failed products, they’re mismatched installations. The equipment may be fine, but the context is wrong.
- Location friction: stations tucked behind fields or far from paths get skipped, even when they look great on a site plan.
- Unclear use: if a first-time user can’t tell what to do in 5–10 seconds, many people walk away.
- Wrong difficulty mix: parks often over-index on upper-body bars; many communities get more consistent use from low-impact cardio and mobility.
- Heat and sun exposure: metal handles in full sun can become uncomfortable; shade planning matters more than many teams expect.
- Maintenance reality: a small number of moving parts can be fine, but only if your team can inspect, tighten, and replace components on schedule.
According to CDC (Centers for Disease Control and Prevention), regular physical activity supports overall health and helps reduce the risk of chronic disease, which is a big reason cities prioritize accessible, no-fee fitness options in public spaces.
Choosing outdoor fitness gear: what to look for beyond the brochure
When vendors say “commercial grade,” the details still vary. A simple spec sheet review often prevents expensive do-overs.
Materials and finishes (where durability actually shows up)
- Powder-coated steel is common and can be excellent, but ask about coating process and corrosion protection suitable for your climate.
- Stainless hardware helps in humid, coastal, or snowy regions where road salt becomes a factor.
- UV-stable plastics and grips reduce cracking and color fade.
- Sealed bearings on moving units tend to last longer with less grit intrusion.
User clarity and accessibility
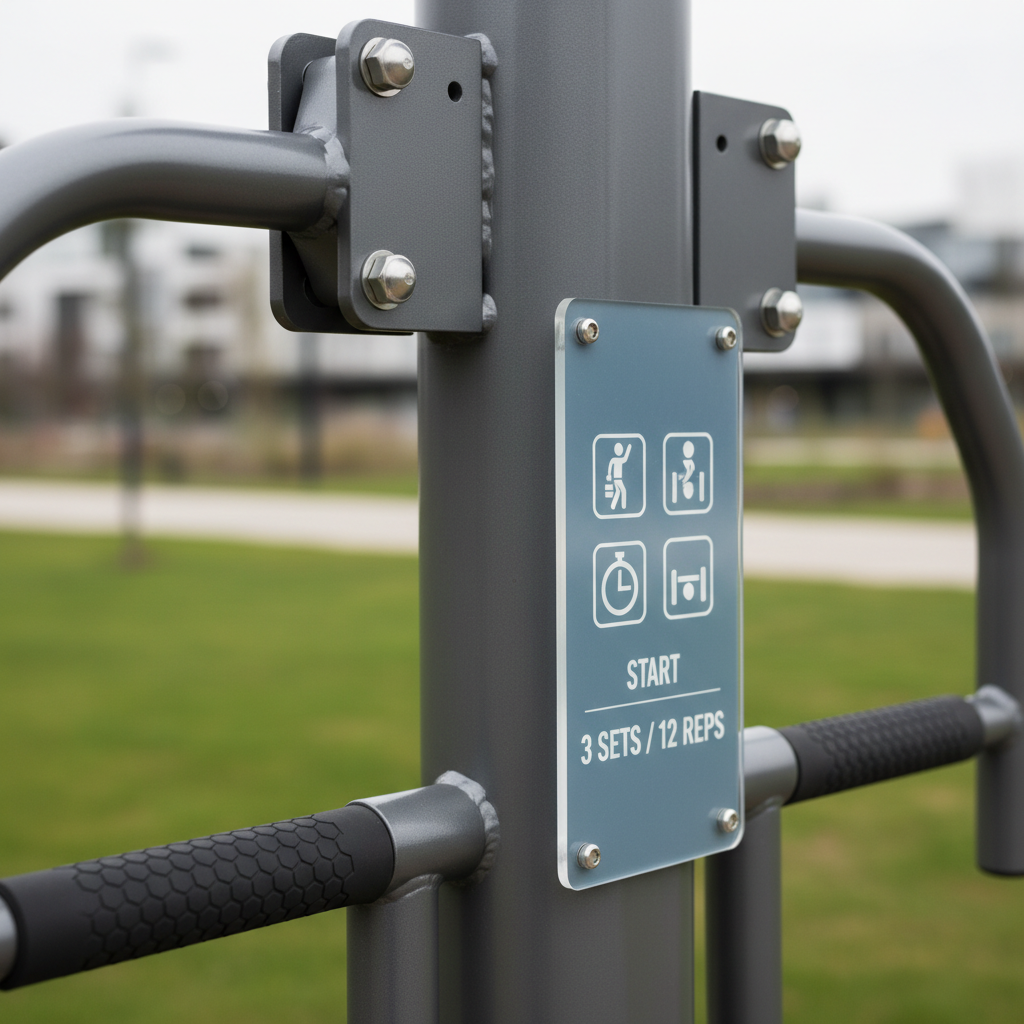
- Instruction plaques with simple steps and muscle focus, plus QR codes for short demos, often increase use.
- Step-up height and handhold placement should work for shorter users and older adults, not only athletic adults.
- ADA considerations vary by project and site; treat accessibility as a planning input early, not a last-minute add-on.
According to U.S. Access Board, outdoor recreation facilities often need to consider accessibility guidance for routes, clear space, and usability, and many projects benefit from early review to reduce retrofit risk.
Quick comparison table: common park fitness stations
Different stations solve different problems. The “best” mix usually matches your community profile and how people already use the park.
| Equipment type | Primary use | Who tends to use it | Typical maintenance load | Notes |
|---|---|---|---|---|
| Elliptical / Air walker | Low-impact cardio | Wide range, including older adults | Medium | Good “anchor” piece; moving joints need periodic checks |
| Stationary bike | Low-impact cardio | Beginners, rehab-adjacent users | Medium | Seat-free designs reduce adjustment issues but may limit comfort |
| Row / Lat pull | Upper back strength | Adults, teens | Medium to high | Check cables or linkages, depending on model |
| Pull-up / Dip bars | Calisthenics strength | Fitness enthusiasts | Low | High use in some parks, intimidating in others |
| Stepper / Plyo steps | Leg strength + conditioning | Adults | Low to medium | Ensure slip resistance and drainage at the landing area |
| Stretch / mobility panels | Warm-up and flexibility | Everyone | Low | Often underrated, improves “approachability” of the zone |
Layout and site planning that makes people actually use the zone
Good outdoor fitness gear can still underperform if the layout feels awkward. You’re designing a mini “flow,” not just placing objects on a pad.
- Place near existing traffic: trailheads, playground edges, basketball courts, community centers.
- Design for loops: 6–10 stations in a simple circuit encourages progression without crowding.
- Keep sightlines open: people use spaces more when they feel visible and safe.
- Plan for shade: trees, shade sails, or orientation that reduces direct midday sun on touchpoints.
- Surface choice matters: many sites use poured-in-place rubber or engineered wood fiber; your climate and maintenance capacity should drive the decision.
According to NRPA (National Recreation and Park Association), park design that supports comfort and perceived safety tends to increase participation, and small choices like shade and adjacency can change how a space performs.
Self-check: what your park needs before you buy
If you answer these quickly, you’ll avoid the most common “we should have asked that earlier” moments.
- Who is the primary audience? commuters on a trail, nearby residents, seniors, teens, or a mix?
- What does the park already attract? walkers, parents, league sports, weekend events?
- Do you have an inspection routine? weekly visual checks, monthly torque checks, seasonal deep inspections?
- What is the vandalism risk? lighting, visibility, camera coverage, and nearby activity all influence this.
- How will you handle surfacing and drainage? standing water around stations shortens lifespan and increases slip risk.
- Is there a clear accessible route? not just “can someone reach it,” but “can they use it comfortably.”
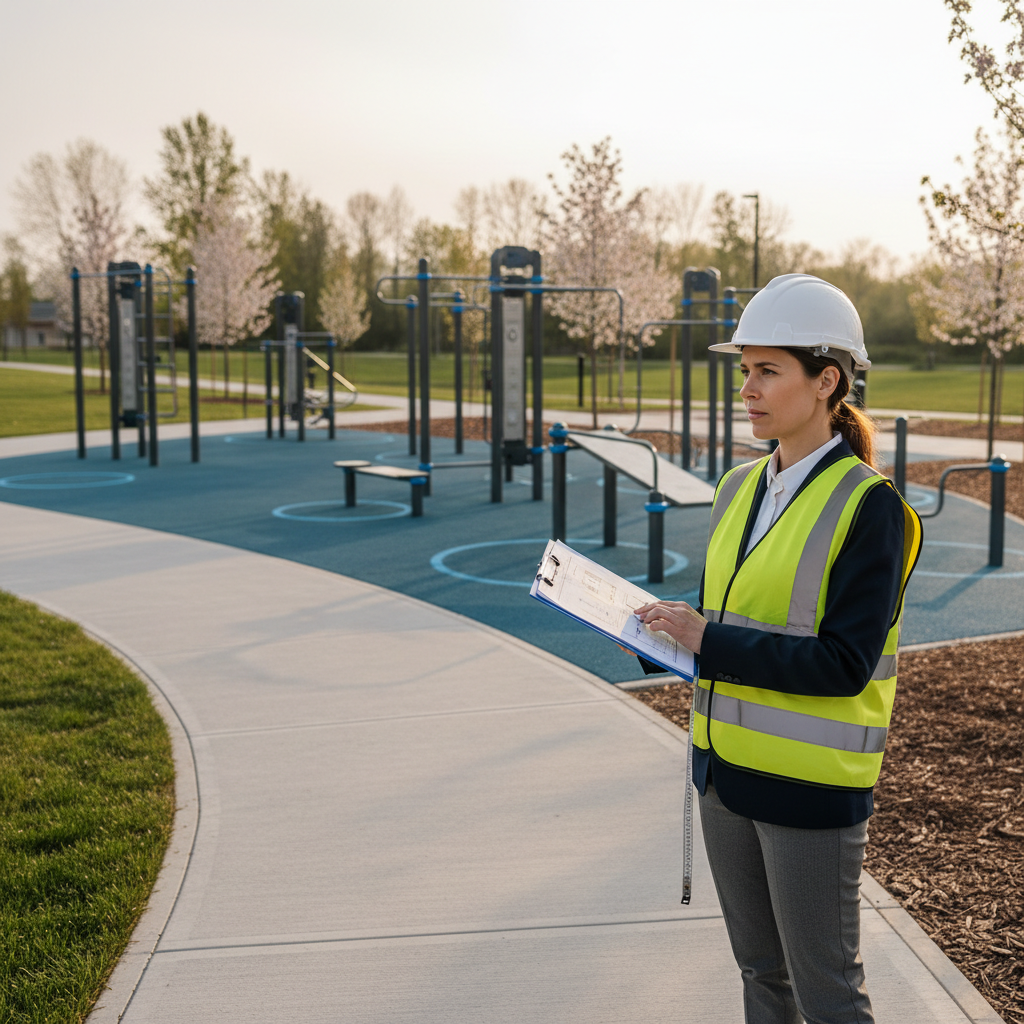
Practical rollout plan: from purchase to a safer opening day
Outdoor fitness projects go smoother when you treat opening day like a small launch, not the end of procurement.
1) Pick a balanced equipment mix
A reliable starting mix for many parks: low-impact cardio, a push, a pull, a squat/step pattern, and a mobility station. This usually serves more people than a zone dominated by advanced calisthenics.
2) Confirm install details early
- Footing and anchoring approach based on soil and frost depth
- Surfacing thickness and edges, including transitions to sidewalks
- Clearance zones to reduce collision risk
3) Add “how to start” guidance
Simple signage helps. A short panel that says “Try this 8-minute circuit” often makes the area feel welcoming, especially for beginners.
4) Set inspection and maintenance expectations
Moving equipment may need periodic lubrication or fastener checks. If your team has limited bandwidth, consider a simpler set of stations with fewer wear points.
Safety note: park users may have medical conditions or injuries. It’s reasonable to encourage warm-ups, gradual effort, and consulting a healthcare professional when needed, especially for people returning to exercise.
Common mistakes (and how to avoid them)
- Buying “cool” gear without usage reality: impressive stations can sit empty if they feel intimidating or too technical.
- Overlooking heat and grip comfort: in hotter regions, consider shaded placement and touch surfaces designed for sun exposure.
- Ignoring noise and neighbor impact: some designs clank or squeak if maintenance slips, which can trigger complaints near homes.
- Skipping the small stuff: trash cans, bottle fillers nearby, and lighting often matter as much as one extra station.
Key takeaways and next steps
Good outdoor fitness gear feels easy, sturdy, and placed where people already move. If you prioritize clarity, durability, shade, and a realistic maintenance plan, you usually get higher use and fewer headaches after installation.
If you want one concrete next step, walk the site at the time the park is busiest and note where people naturally slow down, those spots often become your best equipment locations. Then build a station mix that serves beginners and regulars, not just the strongest users.
FAQ
- How many outdoor fitness stations should a small park install?
Many small parks do well with 5–8 stations if the layout supports a simple loop and doesn’t compete with playground circulation. More pieces help only when space, surfacing, and maintenance can keep up. - What outdoor fitness equipment gets used the most?
Low-impact cardio and simple strength patterns tend to see broad use, especially when instructions are obvious. In some neighborhoods, pull-up bars dominate, but that’s very community-dependent. - Is outdoor fitness gear safe for seniors?
It can be, particularly for low-impact and mobility-focused stations. Still, fitness ability varies a lot, so clear instructions and a “start easy” message matter, and individuals should consider professional advice when health risks exist. - Do parks need rubber surfacing under outdoor fitness equipment?
Not always. Some parks use rubber, others use turf systems or other approved surfaces, depending on equipment design, fall-height considerations, drainage, and local requirements. Your installer or inspector can confirm what fits your setup. - How do we reduce vandalism and misuse?
Visibility, lighting, and adjacency to active areas help more than most people expect. Durable finishes and tamper-resistant hardware also matter, but placement and oversight usually do the heavy lifting. - How often should outdoor fitness equipment be inspected?
Many operators use frequent visual checks plus scheduled detailed inspections, but the right cadence depends on traffic and equipment type. If you’re unsure, ask the manufacturer for a recommended schedule and align it with your team capacity. - Can we install outdoor fitness equipment near a playground?
Often yes, and it can increase use by caregivers, but you’ll want to manage circulation and safety clearances so kids aren’t running through moving parts.
If you’re planning a park refresh and want a more straightforward path, it often helps to start with a short equipment shortlist and a site checklist you can share with vendors, you’ll get cleaner quotes and fewer surprises once installation begins.