
How to install a bike phone mount comes down to three things: putting it on the right part of the cockpit, tightening it to the right feel, and testing it so your phone does not wobble or pop out mid-ride.
If you have ever watched your screen shake so badly you cannot read directions, or you have marked up a nice handlebar with a cheap clamp, you already know why this matters. A phone mount is a “small” accessory that can turn into a safety issue fast when it loosens, rotates, or blocks your controls.
This guide walks through the common mount types, a quick fit checklist, and step-by-step install tips that work for most bikes in the US, including road, gravel, commuter, and many e-bikes. I’ll also point out the mistakes that waste time, like over-tightening plastic rings or mounting right next to shifting cables.
Pick the right mount style for your bike and riding
Before you start tightening anything, identify what you bought. Most installation headaches happen because the mount style does not match the bar diameter, stem shape, or the way you ride.
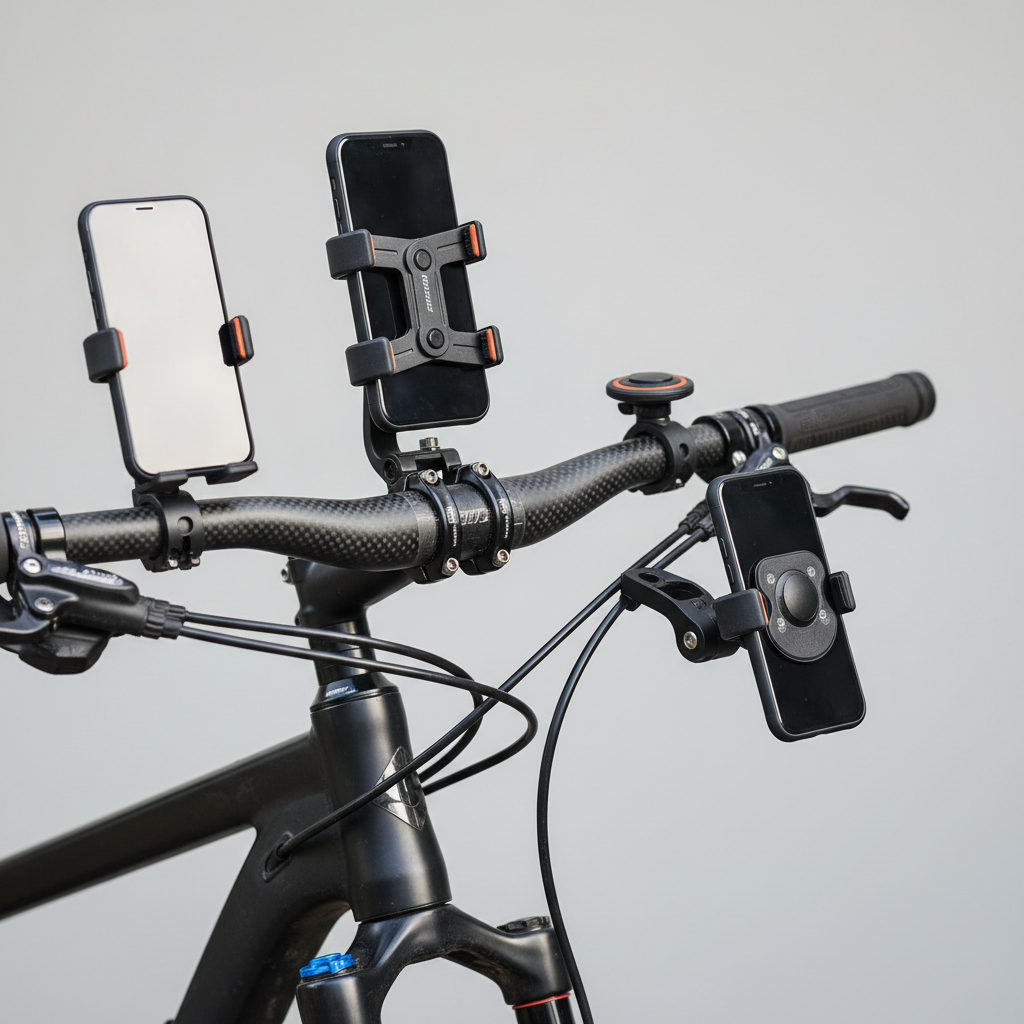
Common types you’ll see:
- Handlebar clamp mounts (rubber strap or bolt clamp): easiest, fits many bikes, but can rotate if under-tightened.
- Out-front mounts (usually bolts to bar or stem faceplate): cleaner look for road/gravel, often steadier, may need tools and correct torque.
- Stem cap mounts (replaces top cap): tidy and centered, but compatibility depends on your steerer/stem hardware.
- Adhesive or “universal” pad mounts: can work on scooters or unusual cockpits, but heat and vibration can reduce reliability.
If you ride on rough pavement, gravel, or trails, prioritize a mount with a positive mechanical lock, not just a stretchy band. For smooth commuting, a quality strap mount can still be totally fine.
Quick fit checklist before you install
Two minutes of checking saves you from redoing the whole setup. Use this list before you commit to a location.
- Bar diameter match: many flat bars are 22.2 mm at the grip area, many road bars are 31.8 mm at the center clamp area, and tapers vary.
- Clearance: phone should not hit the top tube when turning, and should not block the headlight mount or bike computer.
- Control access: you should still reach shifters, brake levers, and bell without changing your grip.
- Cable routing: avoid clamping directly over housing or hydraulic lines where pressure can pinch.
- Case compatibility: if the mount needs a specific phone case or adapter, confirm it locks securely before riding.
According to NHTSA, distracted driving is a major safety concern on US roads. A stable, glanceable phone mount does not eliminate distraction, but it can reduce the temptation to hold the phone while moving.
Tools and prep: what you actually need
Most installs are simple. The trick is not tools, it is cleanliness and friction, especially with rubber shims.

- Hex keys (commonly 3 mm, 4 mm, or 5 mm), if your mount uses bolts
- Optional torque wrench, especially for carbon bars or pricey stems
- Microfiber cloth
- Isopropyl alcohol (for cleaning bars and removing oils)
- Rubber shims/spacers included with the mount
Prep tip: wipe the mounting area on the bar or stem. Skin oils and sunscreen can make clamps slip, even when tightened “hard.”
How to install a bike phone mount (step-by-step)
How to install a bike phone mount reliably is less about brute force and more about alignment, even pressure, and a quick safety check.
1) Choose the mounting position
Most riders do best with one of these spots:
- Center of the handlebar: stable and easy to see, but may compete with a headlight or bike computer.
- Just next to the stem: often clears cables better than the exact center.
- Out-front position: best for navigation and readability on road bikes, but confirm it will not interfere with bags.
If you use a front basket or handlebar bag, test the phone position with the bag installed. Many people forget this, then wonder why the phone hits the bag on bumps.
2) Fit the correct shim (if included)
Rubber shims are not “optional padding.” They’re what create friction and match diameter. If the clamp closes metal-on-metal with no shim when it should have one, you’ll fight slipping forever.
- If the mount rocks side-to-side before tightening, you likely need a thicker shim.
- If the mount cannot close enough to start the bolt threads, the shim may be too thick.
3) Tighten evenly, then set the angle
For bolt clamps, alternate turns between bolts so the gap on both sides stays similar. For strap mounts, pull the strap snug, then seat it into the locking notch.
Carbon cockpit note: if your handlebar or stem is carbon, avoid guessing. Many carbon components have a maximum torque printed on them, and exceeding it can cause damage. If you are unsure, a local bike shop can confirm safe torque.
4) Lock the phone interface and do a shake test
Click or twist the phone into the mount until you hear/feel the lock engage. Then do a simple test:
- Hold the front brake and rock the bike forward and back.
- Shake the bars left to right.
- Try to rotate the mount by hand.
If the mount rotates with moderate hand force, reposition onto a less tapered part of the bar, add the correct shim, or re-tighten evenly. Do not “solve” rotation by cranking one bolt much tighter than the other.
Adjust for visibility, comfort, and safety
A mount can be tight but still annoying to use. Small adjustments make the difference between “I never look at it” and “this actually helps.”
- Angle: tilt the screen to reduce glare. If you ride midday sun, a slightly flatter angle often helps.
- Orientation: landscape is easier for maps, portrait can be easier for messages and quick glances.
- Reach: you should not need to take a hand far off the grip to tap once. If you find yourself “leaning” to touch the phone, move it closer.
According to CDC, helmet use reduces the risk of head injury in the event of a crash. A solid phone mount is not safety equipment, but it supports safer habits by keeping both hands available.
Common mistakes that cause wobble, slipping, or damage
Most problems repeat across brands. If your setup feels wrong, it is usually one of these.
- Mounting on a tapered section: many handlebars narrow as they move away from the stem, making clamps creep inward.
- Ignoring shims: wrong shim thickness leads to rotation and micro-movement, which gets worse over time.
- Over-tightening plastic parts: you can strip threads or crack the clamp, then it fails unexpectedly.
- Pinching cables: tight clamps over housing can affect shifting or braking feel.
- Skipping re-checks: vibration can loosen hardware, especially after the first ride.
Key takeaway: if it is slipping, do not just add force, improve contact and placement first.
Troubleshooting guide (fast fixes)
When you’re in the garage staring at a crooked phone, you want a quick answer. This table covers the usual culprits.
| Problem | Likely cause | What to try |
|---|---|---|
| Mount rotates on bar | Wrong shim or oily bar surface | Clean bar, install thicker shim, tighten evenly |
| Phone wobbles while riding | Loose pivot joint or flexible arm | Tighten the joint, reduce extension, consider a stiffer mount style |
| Phone pops out on bumps | Lock not fully engaged or worn interface | Re-seat until it clicks, inspect tabs, replace adapter if worn |
| Hard to read screen | Glare and bad angle | Adjust tilt, switch orientation, increase brightness cautiously |
| Clamp scratches handlebar | No protective shim or debris under clamp | Add rubber pad, clean grit, avoid over-tightening |
When to get help (and when to replace the mount)
If you are installing on a carbon bar, an integrated cockpit, or an e-bike with a crowded display and wiring, it can be worth having a shop do the final setup. It is usually quick, and it avoids expensive mistakes.
- Get professional help if you cannot achieve a stable mount without extreme force, or if braking/shifting feel changes after clamping.
- Replace parts if you see cracks, stripped threads, or a locking interface that no longer clicks confidently.
Also, consider your use case: if you ride fast descents or rough terrain, a mount that feels “good enough” in the driveway may not stay that way on real roads.
Conclusion: a secure mount is a small upgrade that pays off
If you follow the placement and tightening basics, how to install a bike phone mount becomes pretty repeatable: clean the surface, use the right shim, tighten evenly, and test before your first real ride.
Your next step is simple, pick the most stable location near the stem, install it, then do a 30-second shake test and a quick re-check after the first ride. That small habit prevents most mid-season “why is this loose again” frustration.
FAQ
How tight should a bike phone mount be?
Tight enough that you cannot rotate it by hand with moderate force, but not so tight that the clamp distorts or creaks. On carbon parts, using a torque wrench is often the safer move.
Can I install a phone mount on carbon handlebars?
Usually yes, but you need to respect the handlebar’s torque limit and use the correct shim. If your mount’s clamp design concentrates pressure in a small area, consider a different style or ask a shop to confirm fit.
Why does my phone mount keep slipping toward the center?
This often happens when the clamp sits on a tapered section of bar, or when the shim is slightly too thin. Move it closer to the stem clamp area and re-check friction and alignment.
Is a strap-style mount safe for long rides?
Many strap mounts work well for commuting and smoother roads, but rough surfaces can expose their limits. If you notice bounce or the strap creeping, switching to a bolt clamp or a locking-case system tends to help.
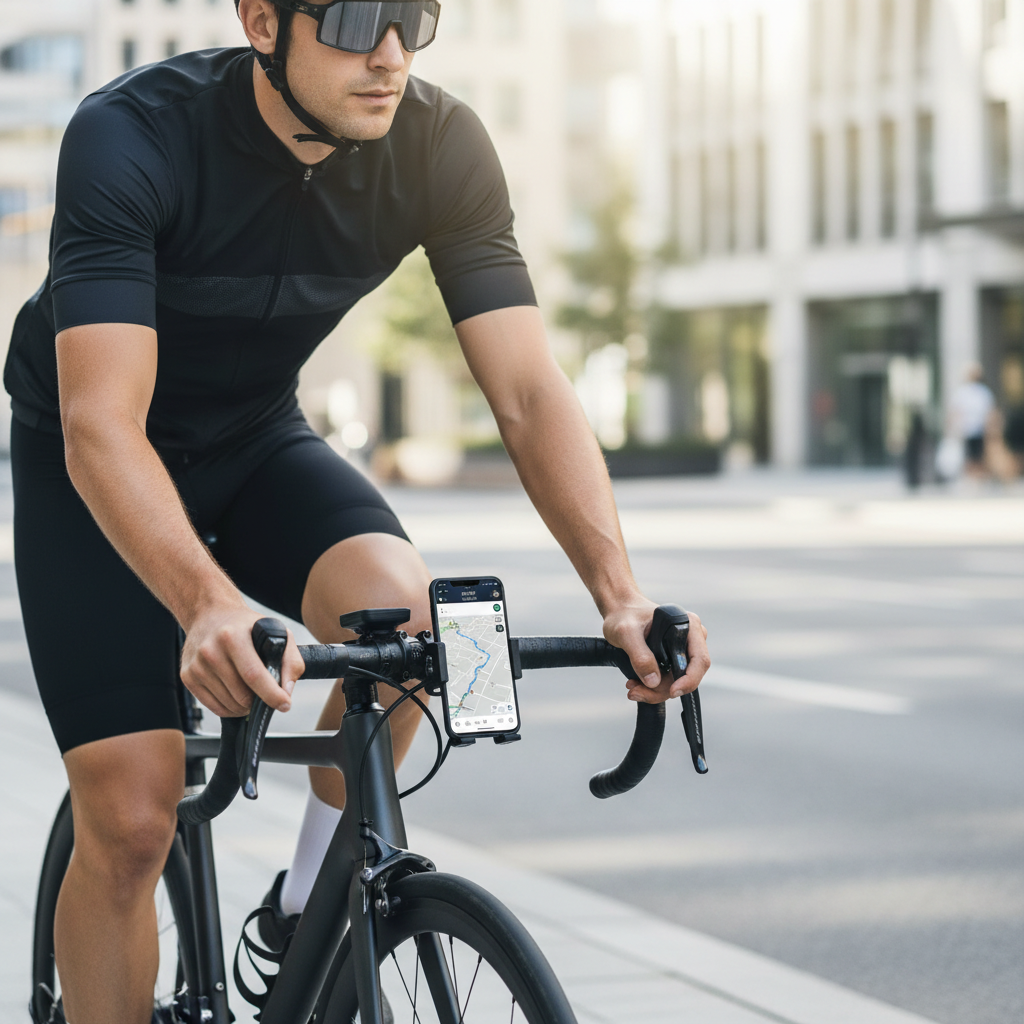
Where is the best place to mount a phone on a road bike?
Many riders prefer an out-front position near the stem because it keeps the screen in your line of sight without blocking your hands. Just confirm it clears a handlebar bag and doesn’t interfere with cables.
How do I stop vibration from ruining video or making maps unreadable?
Shorten any extension arm, tighten pivot joints, and mount closer to the stem where bars flex less. If that still fails, a stiffer mount design usually matters more than adding extra tightness.
Do I need to re-tighten the mount after installation?
Yes, in many cases. After your first ride, check bolts and pivots again because vibration can settle the shim and hardware, then it typically stays stable longer.
If you’re installing a mount for daily navigation and you want fewer adjustments over time, look for a design with a positive lock and easy angle control, then set it up once and do quick checks after the first couple rides.