
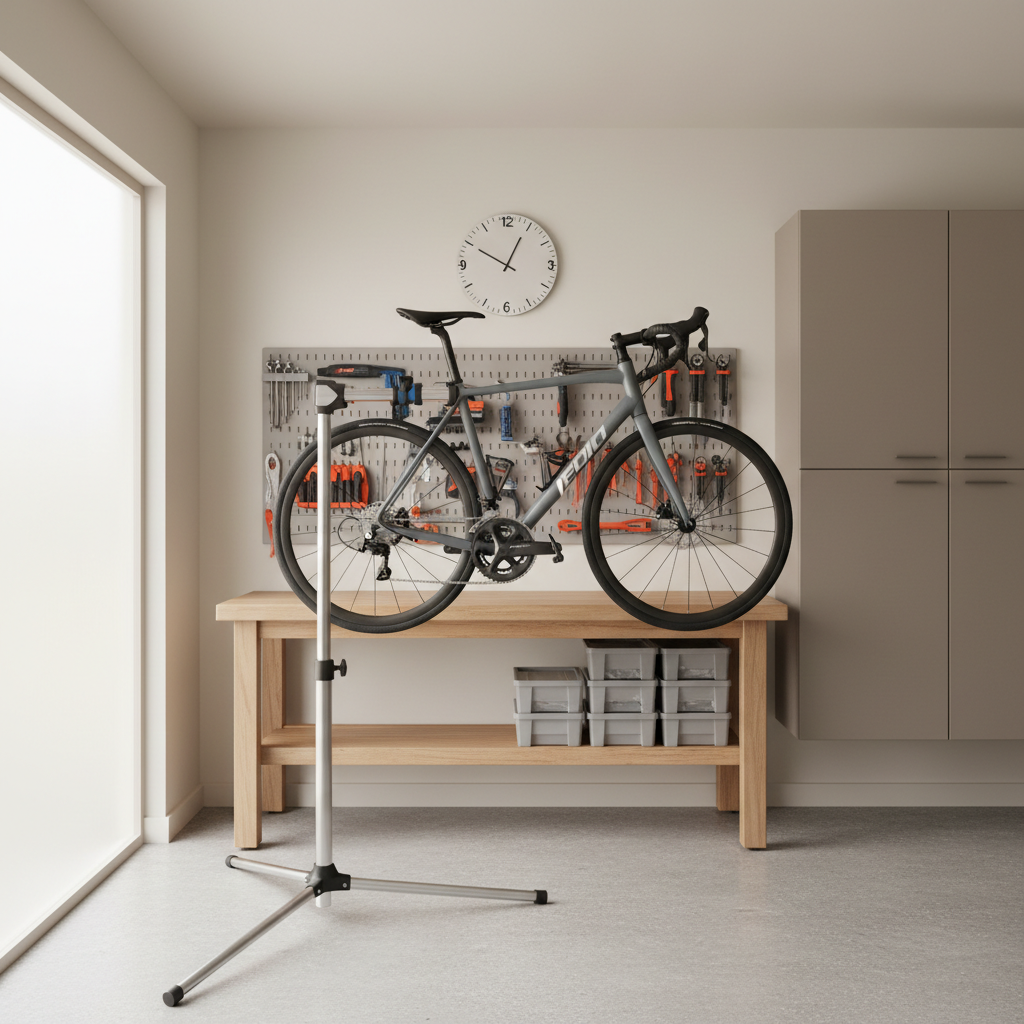
How to use a bike repair stand comes down to two things: stable setup and smart clamping, because most frustration starts when the bike slips, rotates, or you clamp the wrong spot.
If you wrench on the floor, you already know the pain, the drivetrain ends up in your face, the bike falls over mid-adjustment, and every “quick fix” turns into a longer session. A stand won’t make you a pro overnight, but it usually makes basic maintenance cleaner, faster, and less stressful.
This guide walks through practical setup, where to clamp, how to position the bike for common jobs, and a few easy mistakes that can quietly damage carbon frames or crush cables.
Pick the right spot and set the stand up so it stays put
A repair stand is only as good as its footing, so start with a flat surface where you can walk around the bike without kicking a leg.
- Open the legs fully, partial spread is a common reason for tip-overs.
- Face one leg forward under the bike if your stand design allows it, that leg becomes your “front” support.
- Check the clamps and knobs, hand-tight is usually enough, over-tightening can strip threads on cheaper stands.
- Adjust the height early, raising a loaded bike later can feel awkward and unstable.
If you work on a slick garage floor, a thin rubber mat under the stand can reduce sliding, just avoid thick foam that makes the stand feel squishy.
Understand your stand type and what it’s good at
People say “bike stand” but they often mean different designs, and how to use a bike repair stand changes a bit depending on which one you own.
| Stand type | How it holds the bike | Best for | Watch-outs |
|---|---|---|---|
| Clamp-style (most common) | Clamps the frame or seatpost | Most home maintenance, drivetrain cleaning, adjustments | Clamping carbon or thin tubes needs extra care |
| Bottom-bracket / axle-support | Supports bike by BB or dropouts | Heavy bikes, e-bikes, high-torque work | Slower to mount, model-specific adapters |
| Tripod vs. “H” base | Leg layout differs | Tripod is portable, H-base is steadier | Tripods can tip if the bike is off-center |
If you own a clamp-style stand, the rest of this article fits you well. If you have a BB/axle-support stand, you’ll still use the positioning and safety sections, but the mounting steps differ.
Where to clamp the bike (and where not to)
The safest default is clamping the seatpost, especially if you’re unsure about your frame material. It keeps pressure away from frame tubes and usually balances the bike nicely.
Good clamping points
- Metal seatpost (aluminum or steel): generally the most forgiving option.
- Round metal frame tubes on many older bikes: often fine if you clamp gently and avoid cable runs.
- Some dropper posts: possible, but clamp higher up and avoid crushing the post body, when in doubt, use a sacrificial sleeve or clamp the fixed section only.
Clamping points that need caution
- Carbon seatpost or carbon frame tubes: possible in many cases, but only with correct clamp pads, low force, and careful placement.
- Aero seatposts: clamping can be risky because the shape concentrates pressure.
Avoid clamping here
- Top tube on many modern bikes, especially carbon or thin-walled aluminum.
- Near cable housing or hydraulic hose runs, you can pinch a line and create weird shifting or braking issues.
- Seatpost with grime, grit can act like sandpaper under clamp pads, wipe it first.
According to Park Tool, clamping by the seatpost is a common recommendation for protecting frames and avoiding crush damage, especially on lightweight bikes.
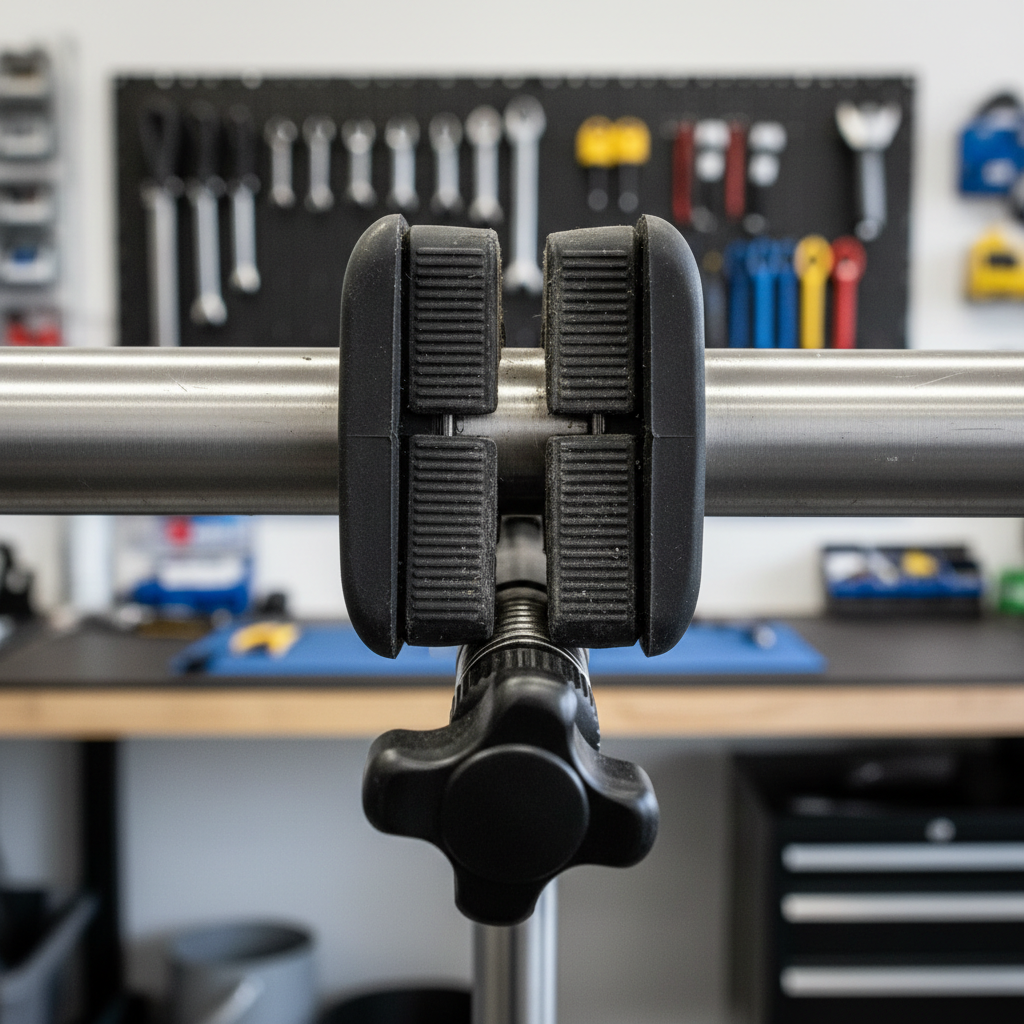
Mount the bike on the stand without the wobble
Most mounting problems happen because the clamp height and bike balance weren’t set before the bike leaves the ground.
- Set clamp height so the top of the clamp sits around your sternum to shoulder level, then fine-tune after the bike is on.
- Open the clamp wide and line up the jaws so they close square, not at an angle.
- Lift the bike by the seat and stem (or seat and top tube on sturdier frames), then settle the seatpost into the clamp.
- Snug first, test second: tighten until it holds, then gently twist the bike to confirm it won’t slip, only then add a little more clamp pressure.
If the bike slowly rotates when you apply force on a pedal or crank, that’s usually a sign you need either a bit more clamp tension or a better balance point, not brute-force tightening.
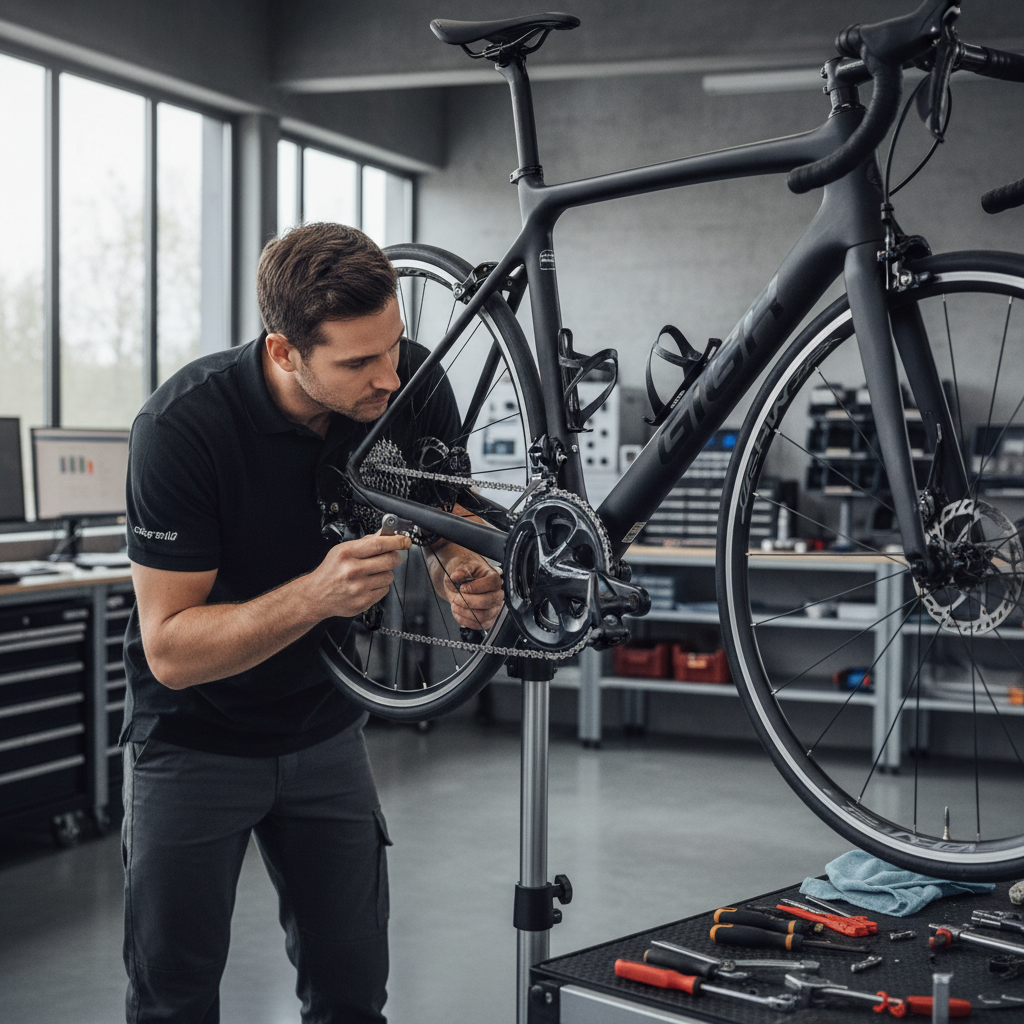
Position the bike for common jobs
How to use a bike repair stand well is mostly about rotating the bike so gravity helps you, not fights you.
Drivetrain cleaning and lubing
- Keep the bike level, drivetrain side facing you.
- Raise the bike so the rear wheel spins freely without brushing the floor.
- Shift to a mid-cassette gear before cleaning, it reduces cross-chain angles while you backpedal.
Rear derailleur indexing
- Stand behind the bike so you can see the derailleur cage and cassette alignment.
- Use small barrel adjuster turns, then pedal and re-check, big turns create confusion fast.
Brake adjustments
- For disc brakes, keep the bike stable and avoid grabbing the rotor with greasy hands.
- For rim brakes, align the pad while the wheel spins, then squeeze the lever to confirm centering.
Removing wheels
- Shift to the smallest rear cog before removing the rear wheel, it makes reinstall easier.
- With the bike clamped, wheel removal becomes simpler, but watch your knuckles on the stand legs.
Quick self-check: are you using the stand safely?
If you want a fast gut-check before you start turning wrenches, run this list. It catches most “why does this feel sketchy” moments.
- Clamp location: seatpost or another approved point, not an unknown carbon tube.
- Clamp force: tight enough to resist twisting, not cranked until the knob feels maxed out.
- Bike balance: bike doesn’t want to nose-dive when you rotate it.
- Stand stance: legs fully open, one leg oriented under the bike when possible.
- Workspace clearance: you can rotate cranks without hitting the stand or a wall.
- Kid/pet zone: nobody can bump the setup mid-adjustment.
If anything feels off, pause and re-mount, you’ll lose two minutes now and potentially save a derailleur hanger, a rotor, or your confidence.
Mistakes that waste time (or damage parts)
A bike stand feels simple, but a few habits create recurring problems.
- Clamping a dirty post: grit under the jaws can scratch and can also slip when you least expect it.
- Over-tightening carbon: carbon can be strong in riding loads but sensitive to crushing loads, if you’re unsure, consider asking a local shop for safe clamping guidance for your specific frame and post.
- Ignoring rotation torque: pushing hard on pedals while the bike is clamped high can rotate the bike and stress the clamp.
- Working too high: a high center of gravity feels unstable, lower the clamp when you’re doing high-force tasks.
- Using the stand as storage: leaving a bike clamped for long periods can create unnecessary pressure on a post, especially carbon.
When you may want a shop or a more specialized setup
For most cleaning, adjustments, and light part swaps, learning how to use a bike repair stand is enough. But a few scenarios justify extra caution.
- Carbon frame or aero seatpost and you can’t find clear manufacturer guidance on clamping points.
- High-torque jobs like stuck bottom brackets, seized pedals, or certain suspension pivots, the bike can twist in a clamp-style stand.
- Heavy e-bikes: many home stands are underrated for weight, and lifting can be the risky part, not the wrenching.
- Brake or drivetrain issues that persist: if adjustments don’t “take,” a bent hanger, worn cassette, or hydraulic issue may be involved, a mechanic can diagnose faster.
According to Shimano, following component-specific service instructions matters for safe setup and correct torque, and if you’re missing a torque wrench or the right small parts, a shop visit can be the more sensible move.
Key takeaways you can use today
- Clamp the seatpost when possible, it’s the safest general habit.
- Balance first, tighten second, wobble often comes from poor balance more than weak clamping.
- Rotate the bike to match the job, your hands and eyes should have clean access.
- Be conservative with carbon, if you’re unsure, reduce force and confirm approved clamping points.
If you want your next maintenance session to feel calmer, set up the stand, mount the bike, then do one small job start to finish, like cleaning the chain and checking shifting, that’s usually where the stand pays for itself.