
how to install a bike seat cover comes down to three things: getting the right size, prepping the saddle so it grips, and tightening evenly so the cover stays centered instead of creeping to one side.
If your cover keeps sliding, bunching, or giving you that annoying “diaper” look, it usually isn’t because you did something wildly wrong, it’s because the cover and saddle shape don’t match well, or the install tension ends up uneven. The good news is you can fix most of this in under 15 minutes with basic tools.
This guide walks through sizing, prep, step-by-step installation, and quick troubleshooting. I’ll also call out the common mistakes that waste time, like over-tightening the nose first or trying to “force-fit” a cover meant for a different saddle style.
Pick the right bike seat cover (fit matters more than brand)
Before you install anything, confirm you bought a cover that matches your saddle style. Many “universal” options fit casually, but they’re also the ones that slide the most.
- Road saddle (narrow, longer nose): look for a snug, low-profile cover with strong edge elastics.
- Comfort/commuter saddle (wider, thicker padding): choose a wider cover with a deeper skirt and more adjustment.
- MTB saddle (mid-width, movement-heavy riding): prioritize grippy materials and solid under-saddle straps.
If you’re on the fence between sizes, a slightly smaller cover often holds better than an oversized one, as long as you can mount it without overstressing seams.
Quick sizing check (2 minutes)
- Measure saddle length and widest width.
- Compare to the cover’s stated range, not the marketing name.
- Look at the underside: deep saddles need deeper “skirts” to grip under the edges.
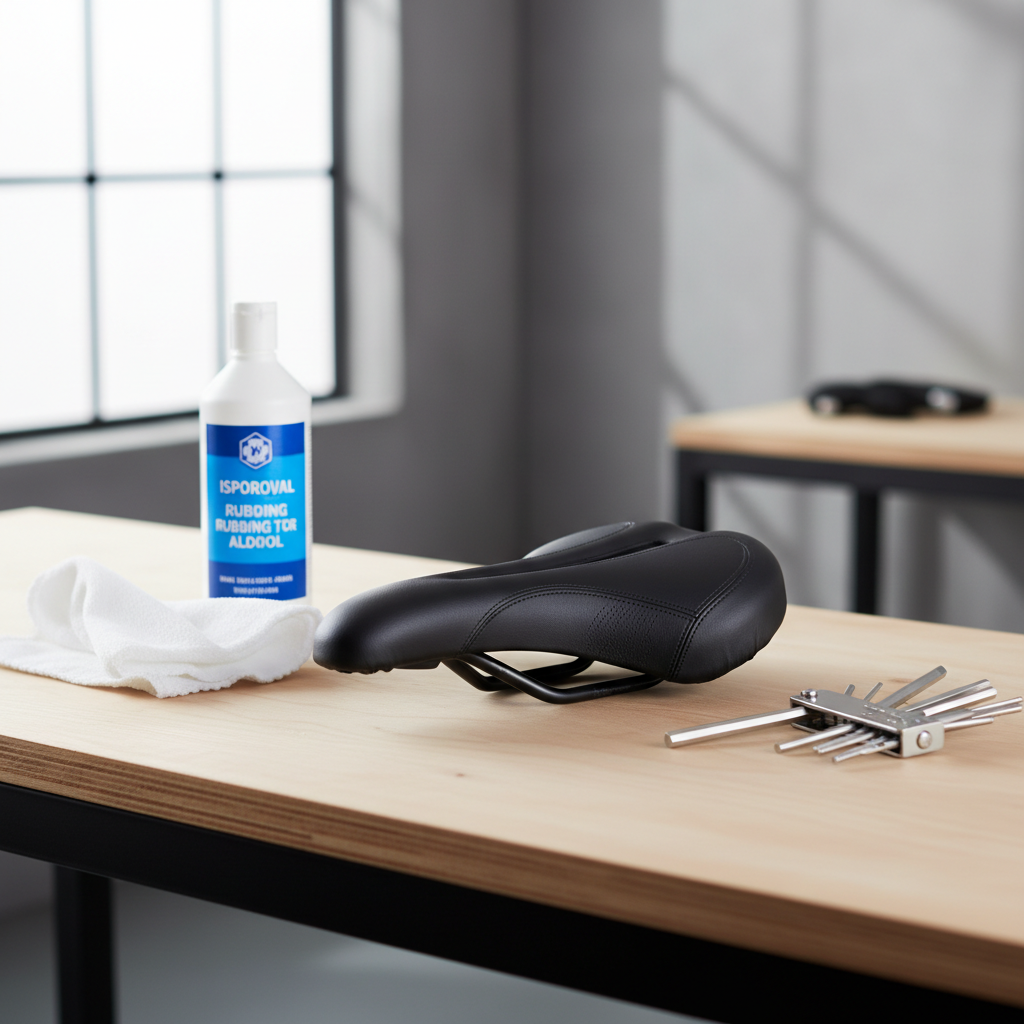
Tools and prep: what actually makes the cover stay put
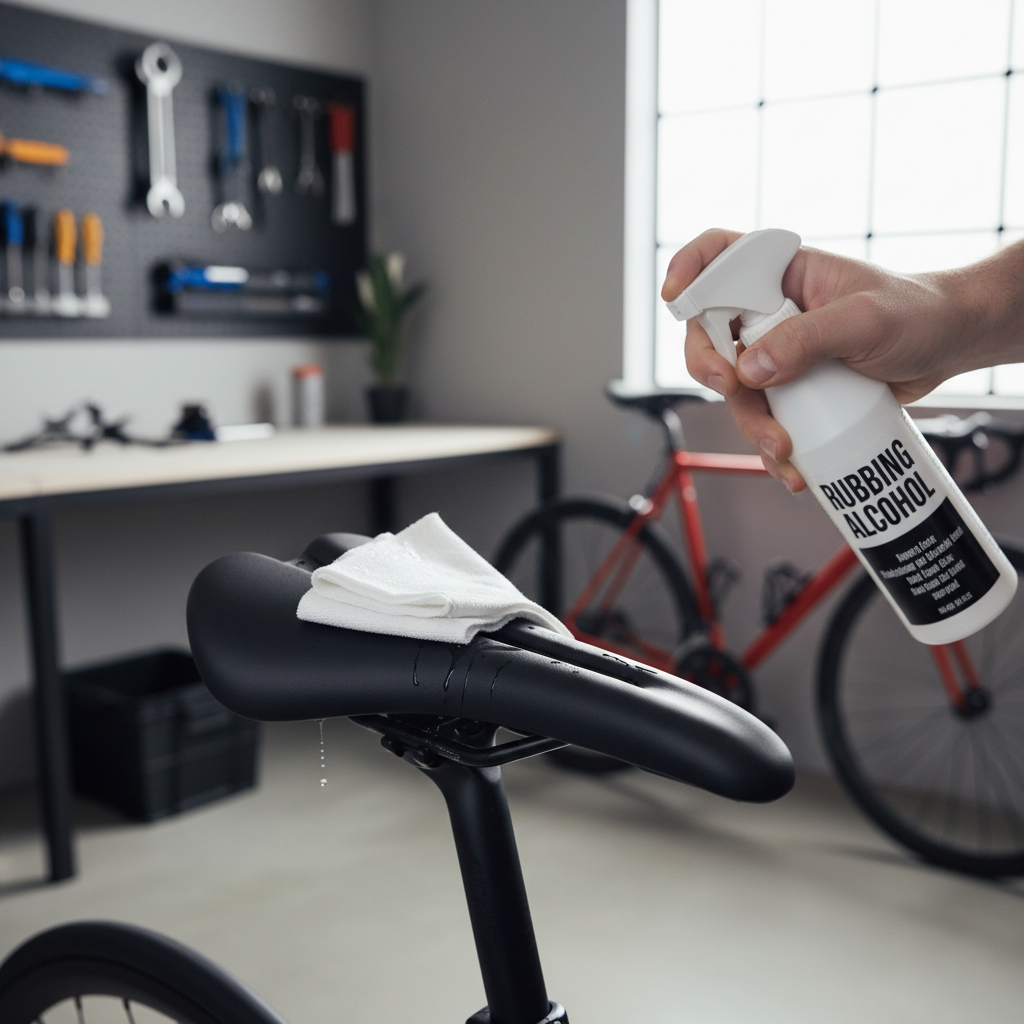
You can install a cover with just your hands, but a little prep is what stops slipping later. Sweat, chain lube residue, and road grime can reduce friction more than you’d expect.
- Microfiber cloth or clean rag
- Rubbing alcohol (isopropyl alcohol) for cleaning
- Optional: hair dryer on low heat (helps elastic covers stretch evenly)
- Optional: nitrile gloves (better grip while pulling)
According to Centers for Disease Control and Prevention (CDC), isopropyl alcohol is flammable, so keep it away from sparks or open flame and let the saddle dry fully before riding.
Prep step that most people skip: wipe the saddle top and sides with rubbing alcohol, then let it air-dry. If the saddle has a glossy plastic shell, cleaning helps the cover “bite” instead of skating around.
How to install a bike seat cover: step-by-step (no wrinkles, no drift)
If you only remember one thing, remember this: align first, tension second. A centered cover that’s gently snug will outperform a cover that’s aggressively tight but crooked.
1) Center the cover on the saddle nose
Hook the front of the cover over the nose, then visually align the center seam or logo with the saddle’s centerline.
- Stand behind the bike and check left-right symmetry.
- If your cover has a “front” tag, confirm orientation now, not after you wrestle it on.
2) Pull the rear on evenly (small pulls, alternating sides)
Pull the back of the cover down and under the rear of the saddle, using short alternating tugs. This reduces “walking” where the cover migrates to one side.
- Left side tug, then right side tug, repeat.
- Keep the top surface smooth with your palm as you pull.
3) Secure straps or drawcords under the saddle
Not all covers use the same retention. Use what your model provides, but aim for even tension across the underside.
- Cross straps: connect, then tighten until snug, not guitar-string tight.
- Drawstring: cinch gradually, then tie a double knot; tuck excess so it won’t rub shorts.
- Elastic-only covers: spend more time on smoothing and centering, because you can’t “lock” them later.
4) Smooth the top, then re-check alignment
Run your hand from nose to tail and push wrinkles toward the edges. Then re-check the centerline from behind. If it’s off, loosen and correct now, because riding pressure tends to set the cover in its current position.
5) Do a 30-second “sit test”
Sit on the bike (stationary), shift your weight slightly, then hop off and re-check the cover. If it shifts immediately, you likely have either uneven tension or the cover is simply too large for the saddle.
Seat cover types and what changes during installation
Most install guides pretend seat covers are all the same, but your approach should match the style. Here’s a quick reference that reflects what riders usually run into in real life.
| Cover type | Best for | Install focus | Common issue |
|---|---|---|---|
| Gel padded cover | Commuting, comfort | Extra smoothing, even underside tension | Rear bunching |
| Waterproof/rain cover | Parking outdoors | Quick on/off, snug elastic fit | Flapping edges |
| Elastic-only slim cover | Road riding, minimal bulk | Perfect sizing and centering | Side drift over time |
| Strap-and-buckle cover | MTB, heavier movement | Balanced strap tension, strap placement | Hot spots from twisted straps |
Self-check checklist: do you have the right install (or the right cover)?
If you’re not sure whether your setup is “good enough,” this quick check saves a lot of trial and error.
- Centered: cover seam or logo tracks the saddle centerline.
- No folds on top: small edge ripples are fine, top wrinkles usually cause rubbing.
- Underside secure: straps sit flat and don’t touch rails where they can slip.
- Doesn’t twist when you grab and rotate by hand: a little movement is normal, but it should resist twisting.
- After a short ride, it stays aligned: if it creeps, re-tension or reassess sizing.
Key point: if you keep re-tightening every ride, that’s usually a sizing mismatch or a cover material that’s too slick for your saddle shell.

Troubleshooting: fixes for slipping, wrinkles, and discomfort
When people search how to install a bike seat cover, they often already tried once, and something felt off. Here are practical fixes that match the most common failure modes.
Cover keeps sliding side-to-side
- Re-clean the saddle sides, then reinstall with more attention to centering.
- Make sure straps (if present) cross under the saddle and tighten evenly.
- If it still moves, consider a smaller size or a strap-based model.
Wrinkles on top won’t go away
- Loosen the underside slightly, smooth from center outward, then re-tighten.
- For elastic covers, gentle heat from a hair dryer on low can help the material conform, avoid overheating synthetic fabrics.
You feel new pressure points after adding the cover
- Check if the cover’s padding creates a ridge at the edges, especially on narrow saddles.
- Try re-centering so padding sits evenly under your sit bones.
- If discomfort persists, a cover may not be the right solution for that saddle; sometimes a saddle swap fits better.
According to American Academy of Orthopaedic Surgeons (AAOS), bike fit and contact points can affect comfort and overuse issues, so if you get numbness, persistent pain, or symptoms that worsen, it’s reasonable to consult a bike fitter or a healthcare professional.
Common mistakes that make a “good” cover fail later
- Over-tightening the nose first: it pulls the cover off-center, then the rear never sits flat.
- Straps rubbing on rails: if a strap rides on a smooth rail section, vibration can loosen it.
- Ignoring saddle shape: a wide comfort cover on a narrow road saddle nearly always bunches.
- Installing over a wet or greasy saddle: it might feel tight at first, then shifts on the first warm ride.
When to get help (or consider a different approach)
Most installs are DIY, but there are a few situations where getting a second set of hands or a different product saves time.
- Your saddle has an unusual shape, deep cutout, or integrated features that prevent the cover from gripping.
- You’re installing for a kid’s bike or an e-bike seat with nonstandard dimensions and the cover never centers.
- You’re trying to solve recurring pain or numbness; a seat cover can help comfort, but it may also mask a fit issue.
If you’re unsure, a local bike shop can usually confirm sizing quickly and point out whether a cover is fighting the saddle design.
Conclusion: a tighter-looking install usually rides better
Once you treat this like a fit-and-tension problem instead of a wrestling match, installing a cover becomes pretty straightforward. Clean the saddle, align the cover carefully, tighten evenly underneath, then do a short sit test before you call it done.
If you want a simple next step, reinstall with the checklist above and take a 10-minute ride, then re-check alignment, that one small habit catches most issues early.