
How to install bike lights on handlebars is usually simple, but the little details decide whether your light stays put, points where it should, and doesn’t annoy you every ride.
If your light keeps sliding, rattles on rough pavement, or ends up aimed at the sky, it’s not “bad luck”, it’s almost always fit and mounting technique. A clean bar, the right strap tension, and smart placement do most of the work.
This guide walks you through quick installs for common mount types, a fast checklist to confirm you did it right, and a few real-world fixes that save you from redoing everything after the first pothole.
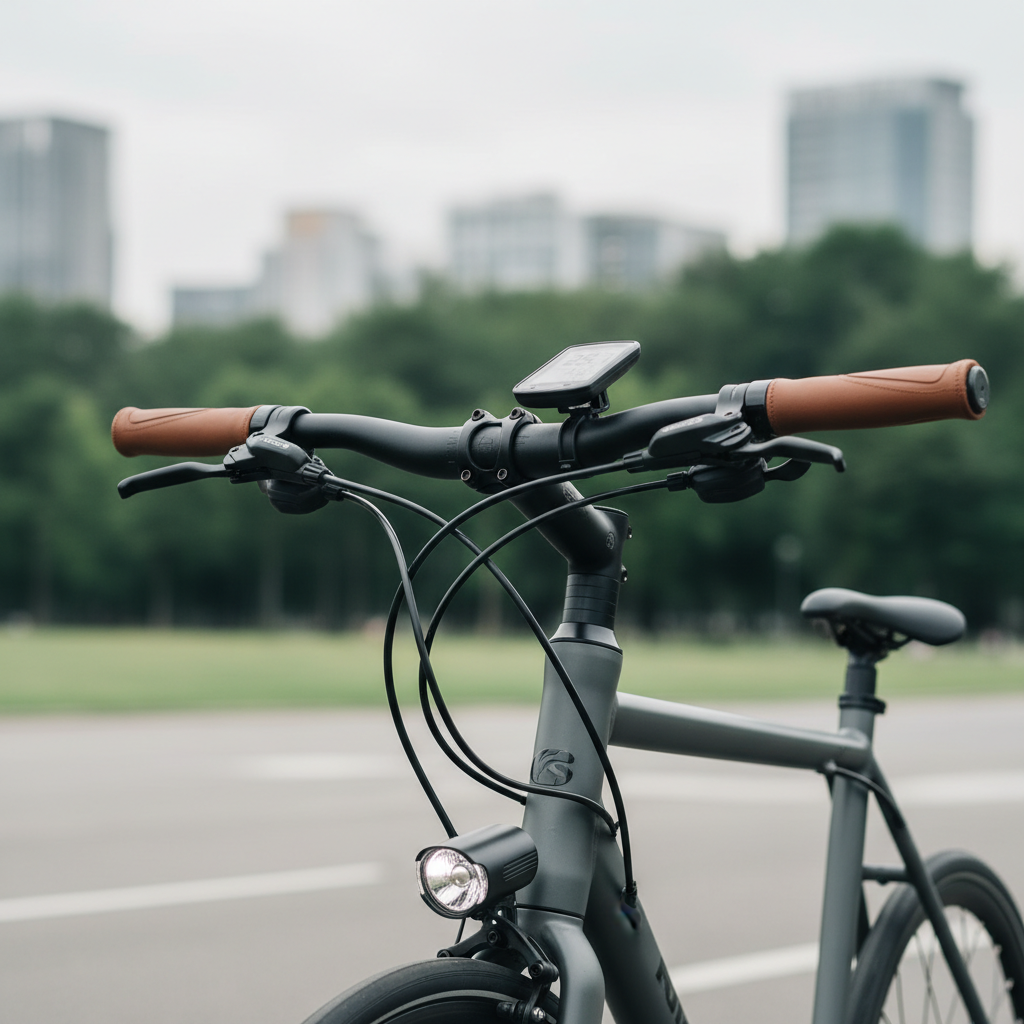
Before you mount anything: pick the right spot on your bars
The best handlebar location depends on your cockpit setup and what you want the light to do: be seen, light up the road, or both. Many riders default to “center of the bar,” but cables, computers, and bags can make that awkward.
Practical placement rules that usually work:
- Near the stem keeps the beam centered and reduces bounce on many bikes.
- Outboard of the grips can help “be seen,” but it’s easier to bump with hands, bags, or doorways.
- Avoid blocking the beam with cables, baskets, or a handlebar bag.
- Leave space for a bell, phone mount, and your hands when turning.
If you run aero bars, big lights sometimes fit better on the stem cap area with a dedicated adapter, or on a fork crown mount, depending on the model.
What you need (and what you can skip)
Most installs take 2–10 minutes, and many lights are tool-free. Still, having a couple basics nearby prevents half-finished setups.
- Clean rag and a little rubbing alcohol or mild soap water to remove bar grease and sunscreen residue.
- Hex keys (often 2.5–5 mm) if your mount uses bolts.
- Scissors if your mount uses a zip-tie style strap (some do).
- Optional: thin rubber shim or electrical tape for undersized bars or slippery finishes.
Skip threadlocker unless the manufacturer suggests it. Many mounts rely on specific torque and friction, and “extra security” can turn into cracked plastic.
Install steps by mount type (strap, clamp, quick-release)
How to install bike lights on handlebars depends mostly on the mount style. Identify yours first, then follow the matching steps below and you’ll avoid the common mistakes.
1) Silicone/rubber strap mount (most common commuter lights)
This style is fast, but it can slip if the bar is dirty or the strap is overstretched.
- Wipe the bar where the mount will sit, let it dry.
- Hook the strap around the bar, seat the mount flat, then choose a strap notch that feels snug.
- Attach the light body, then push and wiggle it to confirm it “locks” into the mount.
- Aim the beam, then recheck strap tension after aiming.
Quick tip: If you’re between notches, choose the tighter one and relocate slightly so the strap lays straight, twisted straps creep over time.
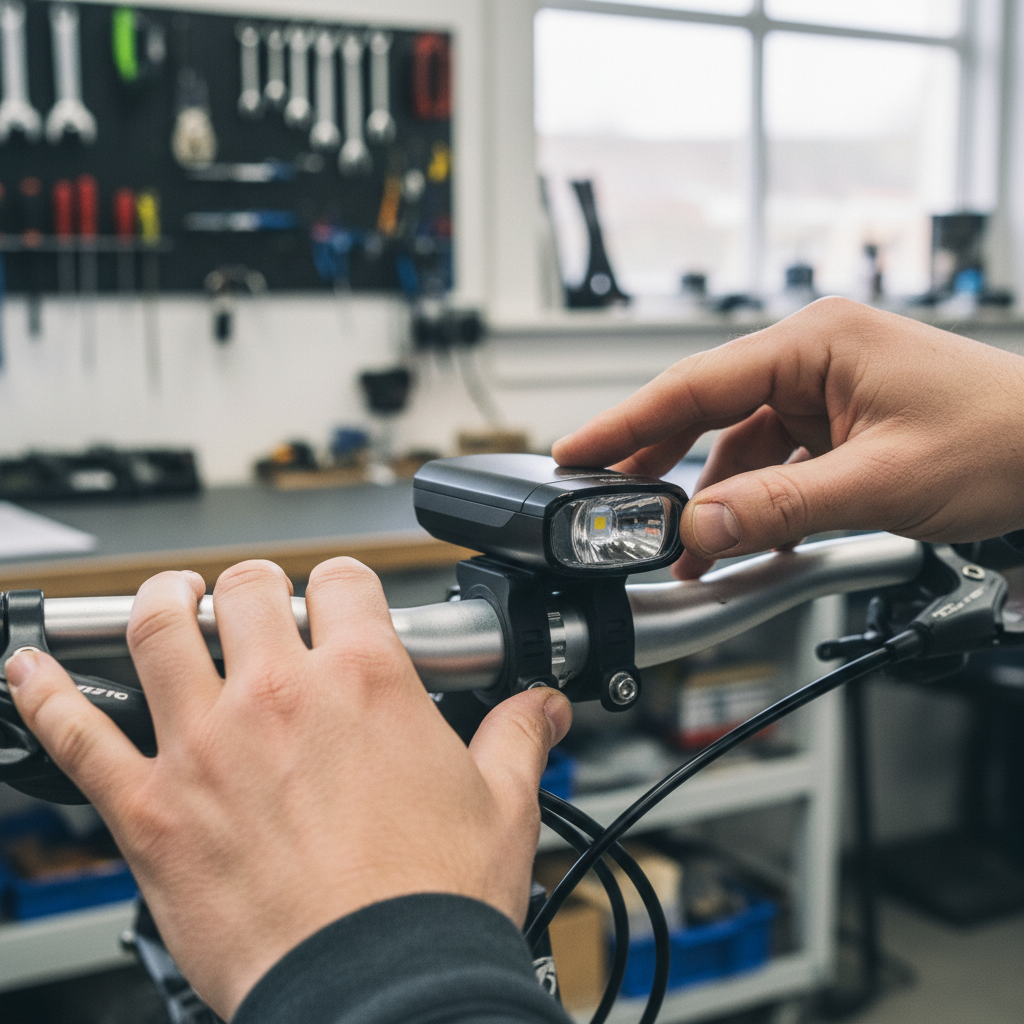
2) Bolt-on clamp mount (more stable, common on higher-output lights)
Clamp mounts hold better on rough roads, but overtightening is the usual failure point.
- Open the clamp, set it on the bar, confirm it sits evenly without pinching cables.
- Add the included rubber shim if the clamp rocks or the bar diameter is smaller.
- Tighten bolts gradually, alternating sides until the mount stops rotating by hand.
- Mount the light, then fine-tune the angle.
Many brands specify a torque range in the manual. If yours does, follow it, plastic clamps can crack even when they “feel fine.”
3) Quick-release slide mount (light slides on/off a base)
This is great for taking the light with you, but alignment matters so the slide track doesn’t wear out.
- Secure the base to the bar (strap or clamp), keeping the slide track level.
- Slide the light on until you hear or feel a click.
- Test removal once, then reattach so you’re sure it fully seats.
If the light feels gritty when sliding, don’t force it, check for sand in the track and clean it first.
Fit check: a 60-second checklist before you ride
Do this once and you’ll catch the “it looked fine indoors” problems. You can also repeat it after the first ride if you’re dialing in the setup.
- Twist test: grab the light and try to rotate it, it should resist firmly.
- Push test: press down and forward, it should not droop.
- Cable clearance: turn the bars fully left/right, nothing pulls or rubs.
- Beam aim: with the bike level, aim slightly downward so you light the road without blinding others.
- Rattle check: shake the bars, listen for clicking that suggests a loose interface.
Key point: A light that holds still in your hands but shifts when you hit bumps usually needs more friction at the bar, not more “angle adjustment.”
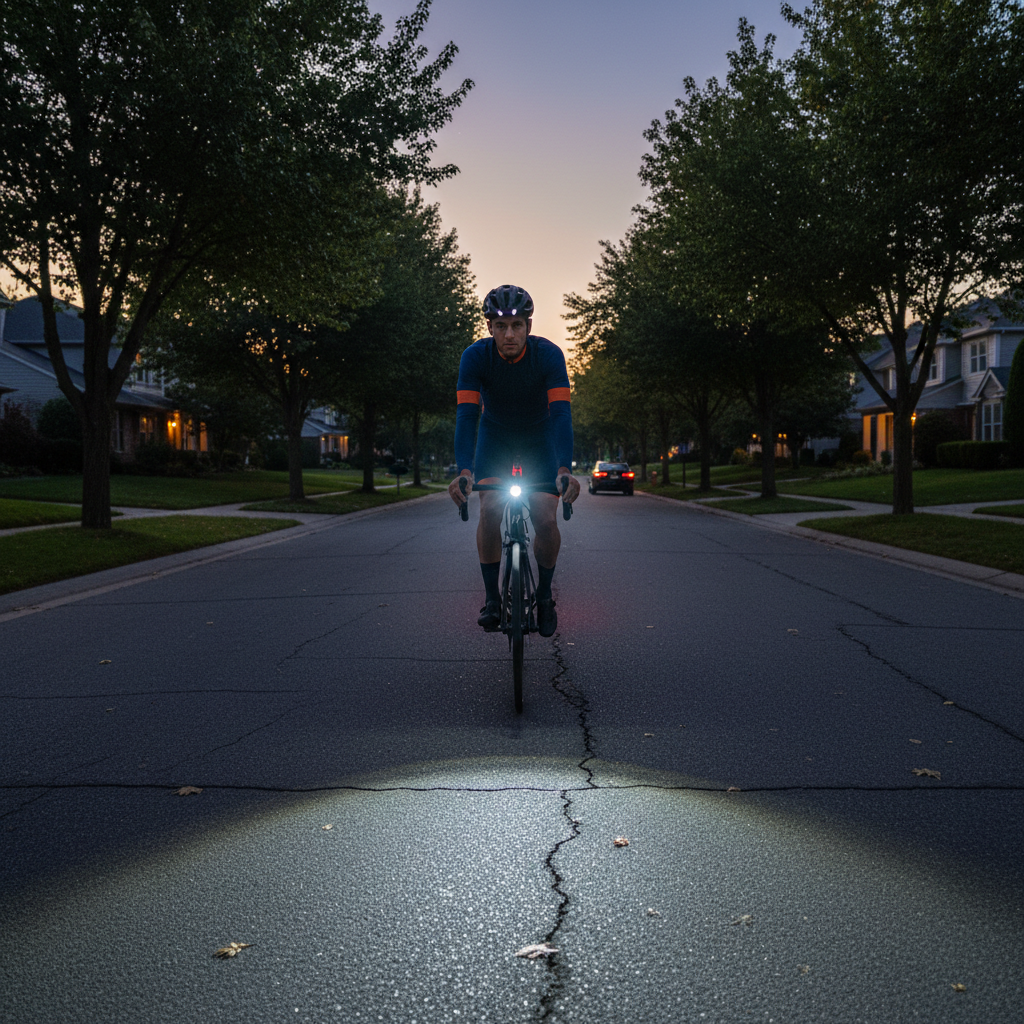
Aim and visibility: don’t just point it straight ahead
A good install is also about where the beam lands. Many complaints about “weak lights” come from poor aim, not low output. According to NHTSA, bicycle lights and reflectors improve a rider’s visibility to others, but correct positioning matters in real traffic situations.
Try this approach:
- For road illumination, aim so the brightest hotspot hits the pavement ahead, not oncoming eye level.
- For being seen in town, consider a steady mode in traffic and reserve high-flash patterns where they’re appropriate and legal in your area.
- If your light has a cutoff beam (common on some commuter lights), keep the cutoff line low enough that it doesn’t glare.
If you ride mixed conditions, you may end up re-aiming slightly between daytime “seen” riding and nighttime “see” riding, that’s normal.
Common problems and quick fixes (what people actually get stuck on)
Most installation frustration comes from one of these few issues. Fixing them is usually faster than replacing the light.
- Light slips downward: clean the bar, add a rubber shim, move closer to the stem where bars flex less.
- Mount rotates on bumps: tighten in small increments, or switch from strap to clamp style if your light supports it.
- Doesn’t fit oversized 35 mm bars: check if the brand sells a larger clamp, forcing a small clamp can crack it.
- Interferes with a bike computer: move the computer to a stem cap mount, then center the light.
- Rattling noise: confirm the light body fully clicks in, add a thin tape layer where the mount contacts (only if it doesn’t block locking).
How to install bike lights on handlebars gets trickier with carbon bars, because you should avoid overtightening and follow the handlebar maker’s guidance. If you’re unsure about clamp pressure on carbon, a local shop can sanity-check it in minutes.
Quick reference table: mount types, pros, and what to watch
Use this when shopping or troubleshooting, it explains why some mounts behave better on certain bikes.
| Mount type | Best for | Pros | Watch-outs |
|---|---|---|---|
| Silicone/rubber strap | Commuting, swapping between bikes | Fast, tool-free, fits many bar sizes | Can slip on smooth/dirty bars, can age and stretch |
| Bolt-on clamp | Rough roads, heavier lights | Stable, less bounce | Overtightening risk, may need shims |
| Quick-release slide base | Theft prevention, daily removal | Convenient on/off, consistent alignment | Track wear if misaligned, can rattle if not fully seated |
Safety notes and when to get help
Bike lighting touches safety, so it’s worth being slightly conservative. According to the League of American Bicyclists, using lights at night and in low visibility is a core part of riding safely, and local laws can specify when lights are required.
A few conservative guidelines:
- If your mount uses bolts, stop tightening when the mount resists rotation firmly, don’t chase “as tight as possible.”
- If you ride in rain, check that charging ports and seals close fully, water ingress can shorten battery life.
- After a minor crash or tip-over, recheck alignment and mount integrity, cracked mounts sometimes fail later.
Consider a bike shop or experienced mechanic if you have carbon handlebars, an unusual cockpit setup, or a light that keeps moving despite shims and correct tension. That’s often a compatibility issue, not user error.
Wrap-up: a simple install that stays solid
How to install bike lights on handlebars comes down to three things you can control: clean contact surfaces, stable placement, and a quick fit check before rolling out. If your light stays put and your beam lands where you need it, you’ll spend less time fiddling and more time riding.
Pick a spot near the stem, mount it snug without crushing parts, and do the 60-second twist-and-aim check today. Your next night ride will feel noticeably calmer.